
Since we aren’t too far away from Halloween, I figured a post about this would be suitable so you can plan to make some cool projects yourself. Many folks think of this day as fun so I decided to do a Halloween project with our fun etching hobby.
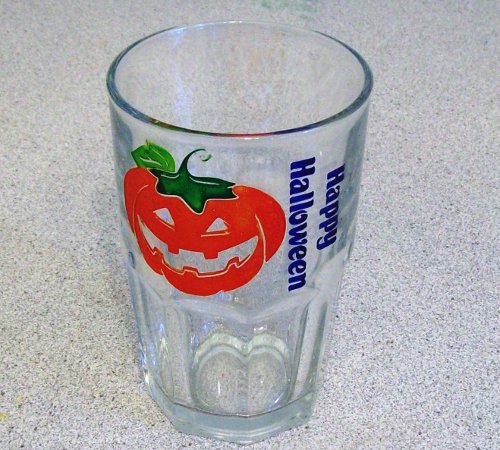
In this project, I simply etched a jack o’ lantern pumpkin with the words, Happy Halloween on the side and painted it with an awesome paint. See the steps taken below:
1. Found Pumpkin Pattern & Designed with Software
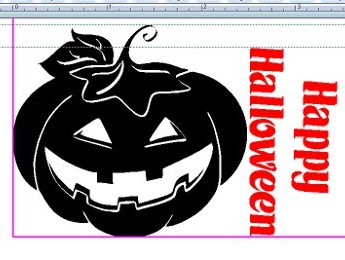
First, I found a simple but nice looking black & white clipart of a pumpkin, then scaled everything to the correct size in my software just like I explain in the membership area. Because the glass wasn’t wide, the “Happy Halloween” text was aligned vertically. Looks unique and allows it to be in view on the front.
2. Cut Stencils from Design & Mask the Edges
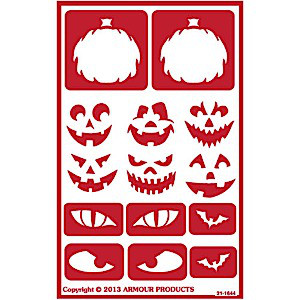
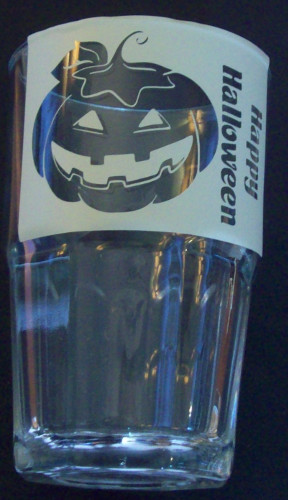 Then the design was cut out from adhesive backed stencil material, aligned on the stencil and masking tape placed around the edges to prevent the sides from being etched. By the way, if you intend to use etching cream or very light sandblasting or even rotary engraving, you can use our reusable Halloween stencils shown on Amazon here.
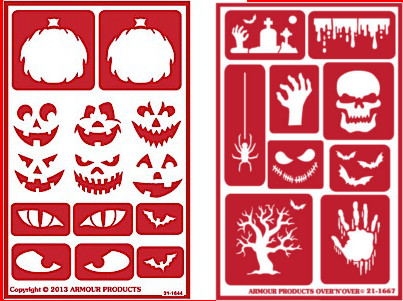
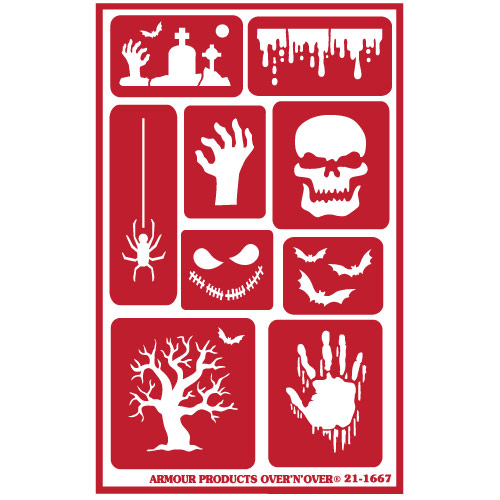
See our 2 pack of reusable Halloween stencils shown on Amazon here: https://amzn.to/2Qn1oME . It includes a design your own jack o lantern face, bats, graveyard, slime, spider, zombie hand, boogie man, skull, dead tree, etc.
3. Etch the Glass
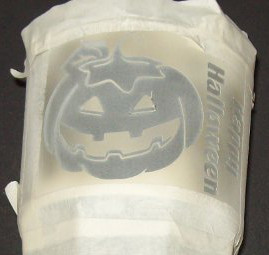 With the stencil in place, use either etching cream or sandblasting. I used sandblasting because it allows me to carve deep into the glass.
Remember, if you use the reusable stencils, you must use a fine grit such as 220 or 180 with a very light pressure.
4. Painting Etched Areas of Glass
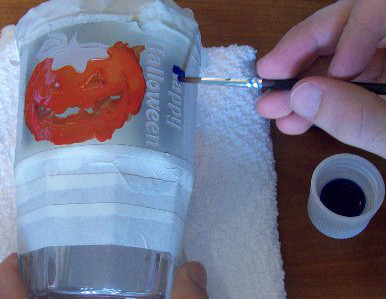 If you plan to paint the glass, technically you can probably get away without etching it at all. However, if you simply paint the stencil, the chances of the paint coming up with the stencil are more likely. You may have to touch up the edges.
In this case, I suggest etching the glass first to prevent paint from being lifted off. The etched surface does two things:
- Roughs up the glass so the paint can bind better & will stick longer
- If sandblast etching is done, the deeper engraving allows the paint to settle below the surface of the glass which even further reduces the chance of the paint from lifting with the stencil.
Glass Paint
For this project, I used this bake-able paint shown on Amazon here. This stuff is great and you can use a brush, but like all glass paint, it can show brush strokes primarily with larger surface areas. My membership area shows more about different types of paint and how to use an airbrush for even coats.
Also, as an FYI, we will be discontinuing our lacquers paints once we are out of stock and it is getting low.
5. Bake Paint
This step isn’t required but definitely recommended because baking the paint on will stick better and last longer. First let the paint dry overnight and bake the painted glass in the oven the following day.
Complete!
After it’s baked, let it cool and that is all there is to it. Has anyone else done this? Feel free to share your project photos.
Please leave a comment below or ask any questions. Thank you!
Share this on social media or email by clicking below!

What are you using for sandblasting equipment?
@Kevin, for this project I used a pressure pot sandblaster and I believe it was 180 grit. I change it up though- lately I have been using 120 or 150 grit.
Brilliant project! what temperature do you bake at and for how long please. Thanks
@Marian, after air drying for a minimum of 24-48 hours, it should be baked at 325°F for 40 minutes.
Do you cut the pattern by hand or stencil cutter?
@ Daphne, I used a stencil cutter for this project.
are the painted items machine washable.?
How long will it last?
@ Guy,
Yes, they are if the paint is baked on.