
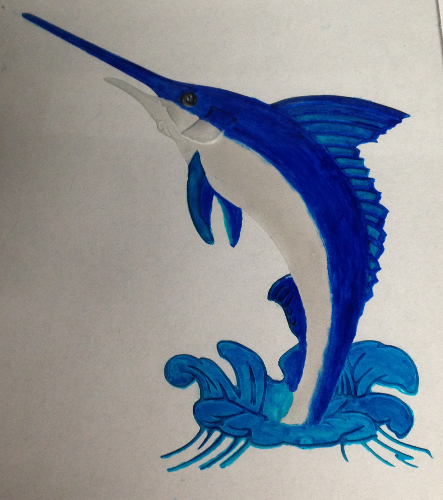
I used lamps to light up the painted etching. This is the completed photo of the carving with glass stain paint.
As promised, after I sandcarved this marlin in glass, I thought it would be fun to experiment and document the process of using these new glass stain paints on that etching.
I am now distributing some of the best permanent glass paints that visually appear like stained glass here.
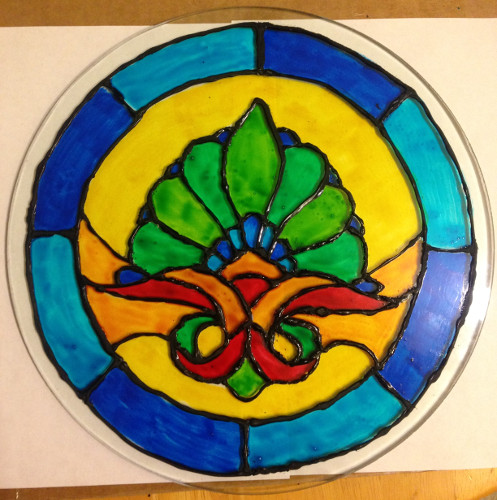
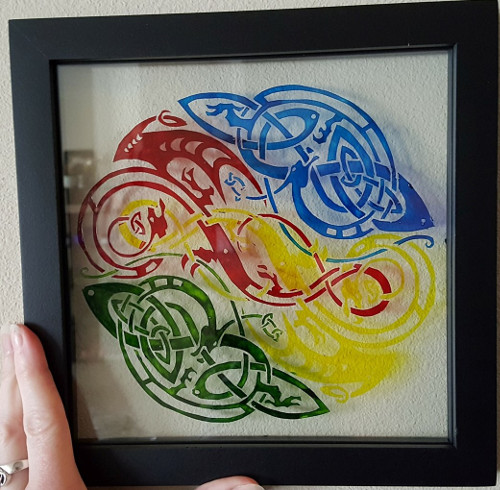
You can see another example of this paint used in this how to paint glass tutorial.
How to Paint Glass Etchings or Sandcarvings
These are the steps below, along with some tips when painting.
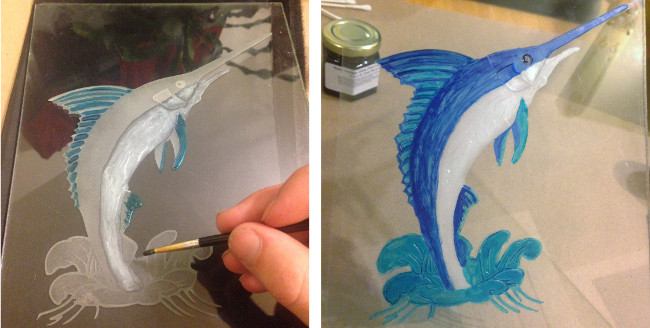
Shows the start (left) and end (right) of the painting process.
- In the top left photo, I started out by painting one side, then switched to another color on an opposite end to allow it to dry so the different colors wouldn’t blend in as much. These paints tend to dry fairly quick. I painted the marlin with the following colors:
- turquoise on the inside of the fins and water splash
- pearl white on the marlins bottom side
- black for the eye
- blue for the top of the marlin body and around the outside of the fins
- In the top right photo, it shows one coat of paint covering the whole project. It can be hard to cover your etching evenly if you don’t have the brush strokes down. If you can see streaks in the paint, I usually recommend a second coat after it dries.

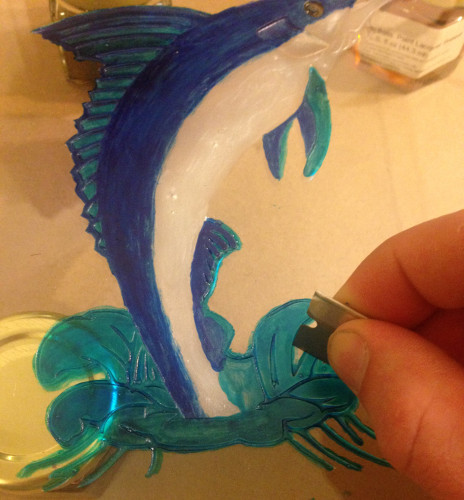
Cleaning up glass paint outside the etching with a razor blade. This also shows what it looks like with two coats of paint.
- Then a second coat was added as you can see below.
- If you paint outside your etching or stained glass pattern as the case may be, you can scrape it off. A razor blade works best as I have used. It is best to do this when the paint dries to touch around the time frame of roughly 15-60 minutes. Waiting too long may be tougher.
- Its a lot easier to scrape off paint outside a sandcarved glass or etching below the surface of the glass since the razor blade won’t accidentally scrape off the paint that is deep. For lighter etchings, you have to be careful and scrape only along the outside of the etching. My project has a mixture of deep and light etchings.
Tips:
- Use fine brushes: in areas with intricate detail like the fins of the marlin, use a pointy fine tip brush as you can see I used.
- Clean brush with lacquer thinner or acetone: either of this solvents are suitable in cleaning your brushes. Fill a small jar up and twirl your brush in it after each use before it dries. Then use a paper towel to wipe the left over paint and solvent from the brush before using it for a different color.
- Cotton swabs work instead of brushes! I found out that cotton swabs work fairly well for smaller projects that don’t cover a lot of surface area. This is great because they are inexpensive and abundant so you won’t have to deal with the frustration of cleaning them after each color. Just throw them in the trash after each use.
- Second coat after first is dry: When painting a second coat, you should make sure it is dry. The drier, the better.
- Avoid multiple stokes over 1st coat: After you apply one stroke over the second coat, the lacquer in the paints will begin to soften the first coat which can start to smear with additional strokes.
Share this on social media or email by clicking below!
I am having problems with my micro blaster. The two tubes the air inlet and the sand outlet dried out and i am trying to replace them. One short and one long , can’t grt it to work. Am very interesting in using paint on ssndblasted glass.
Dave, although I may not have used the same micro blaster as you, I would be happy to help provide my thoughts since I tinker with a few different homemade mini blaster designs of my own such as this one https://www.glassetchingsecrets.com/shop/make-a-mini-sandblaster.html
Please send me an email with a picture of it and more details on what you have tried already. Thanks
I live in a place where nobody knows about etching or etching cream, nor sell it. How do I produce my own etching cream to use pls, (list of chemicals, various quantity). Pls I need it, thank you.
THANKS FOR SHOWING ME HOW TO FILL UP THE COLOUR
I would like a copy on how to add paint to etch glass
As dicas são muito boas parabéns por compartilhar as suas ideias .
Thank you Robert,
Thank you for yet another method to paint sandblasting