
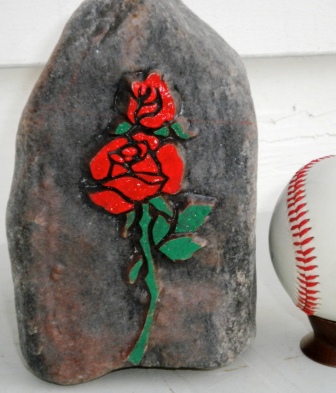
 I wanted to share with you a simple project I did a while back and explain the steps of how to sandblast stone signs to display an home address in a decorative way. These rocks can be big or small to add to your landscape to give it character and make your front yard unique but helpful. They are also popular. Some folks want their family name to be displayed, the street address or just to display some stone art.
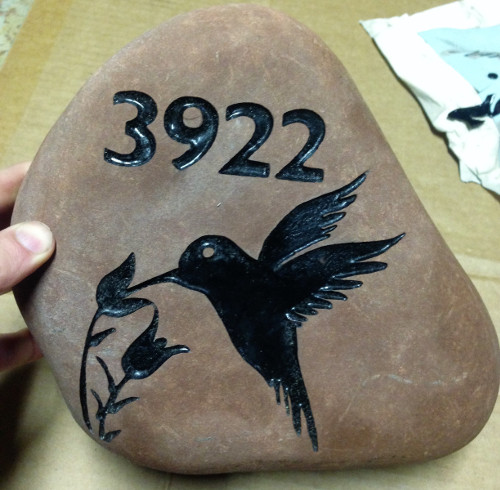
This was done for a friend which was given as a gift to her mother because she liked hummingbirds. Her street address was added to the top and they added it to their flower garden in the front yard.
Steps to Sandblast Stone
 I will cover this in depth with explanation of the best supplies to get and step by step tutorials in the training area, but these are the overall steps it takes:
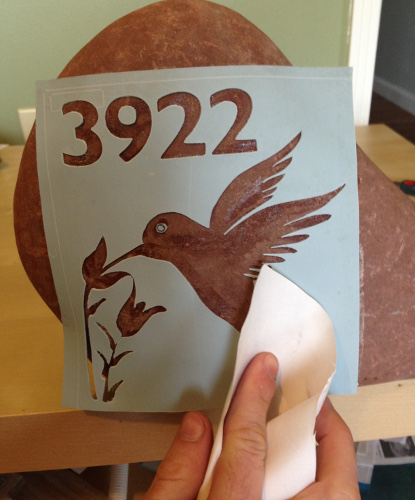
- Find a Pattern & Design – you can get these from design books or wherever. If you have drawing skills, you could even draw them! I will share some of my favorite places to get thousands of great rock sandblasting patterns for free and some inexpensively in the training area. I use various software to add the letters and any text to the pattern. Much more to discuss there and tutorials on how to do it.
- Transfer the Pattern to Stencil Material– there are a few ways to do this and each project might require a different method depending on the size, intricacy, and your budget. You can trace it on the stencil by:
- burnishing it on with transfer paper
- tracing it with carbon/graphite paper
- printing it on the stencil or using the printer & burnishing method
- projecting it on the stencil & drawing it
- cutting it with a stencil machine
- or sometimes even using the photoresist method!
- Apply Stencil to Rock & Weeding– then you would of course position the stencil securely on the rock and weed the parts out that need to be blasted. In most cases, it is wise to mask the outside of the stencil to prevent overblast from hitting the edges of the rock.
- Sandblast the Stencil– you can sandblast the stencil however deep you would like but I usually recommend blasting it at least 1/8″ into the rock. The deeper it is, the better it looks! Please note: it can be easy to misinterpret how deep the rock was carved with the thick sandmask on top so be sure to look at it from an angle.
- Paint– most people paint the sandblasted area to make it pop better. It’s best to do this with the stencil on.
- Pull off the Stencil & Clean– that’s it!
In a nut shell, those are the basic steps. It really can be fairly easy once you have everything set up properly in the best way. If not, rock blasting can be a pain to do.
Please leave me some comments or questions below. If anyone would like to share their cool rock carvings on the blog and be featured, please share them here. Thanks!
Share this on social media or email by clicking below!

When sanding blasting in a cabinet and reusing the sand to blast glass will the stone particle damage the glass
.
What grit sand do you use on stone?
superb idea on stone i like it
Belo trabalho eu também faço isso aqui no Brasil com granito e ardósia.
What kind of stencil do you use? I am etching granite and was looking into a vinyl cover with a sticky back.