
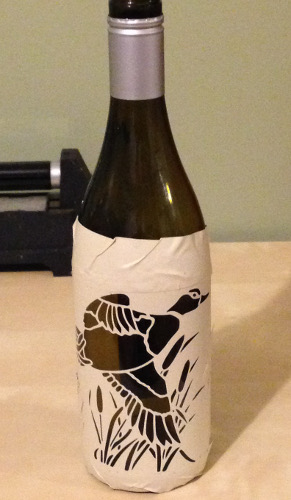
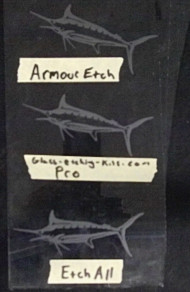
Example pattern cut out of stencil material and placed on bottle.
- Idea of experimenting patterns and etching them on bottles
- Finding excellent free patterns
- Tips on how to photograph etched glass
Experimenting patterns and etching idea
A lot of times I like to experiment with various patterns on glass to see how they look or I will etch/sandblast against different glass colors to see how the contrast of your etching pops out against the glass background. A great way to test both a pattern and glass color is to use bottles that you may just trash or recycle. This is a great opportunity to experiment on free glass before you start on a project that may contain expensive glass. I have covered this before explaining that any scrap glass can be used.
Testing on glass wine or beer bottles is also a good way to see if your stencil is thick enough to withstand the high pressures used to achieve a desired depth. As you may be able to see, there are areas of this that penetrated through the non-exposed areas of the stencil and may require 3-6 more mils to prevent that!
Finding excellent free patterns
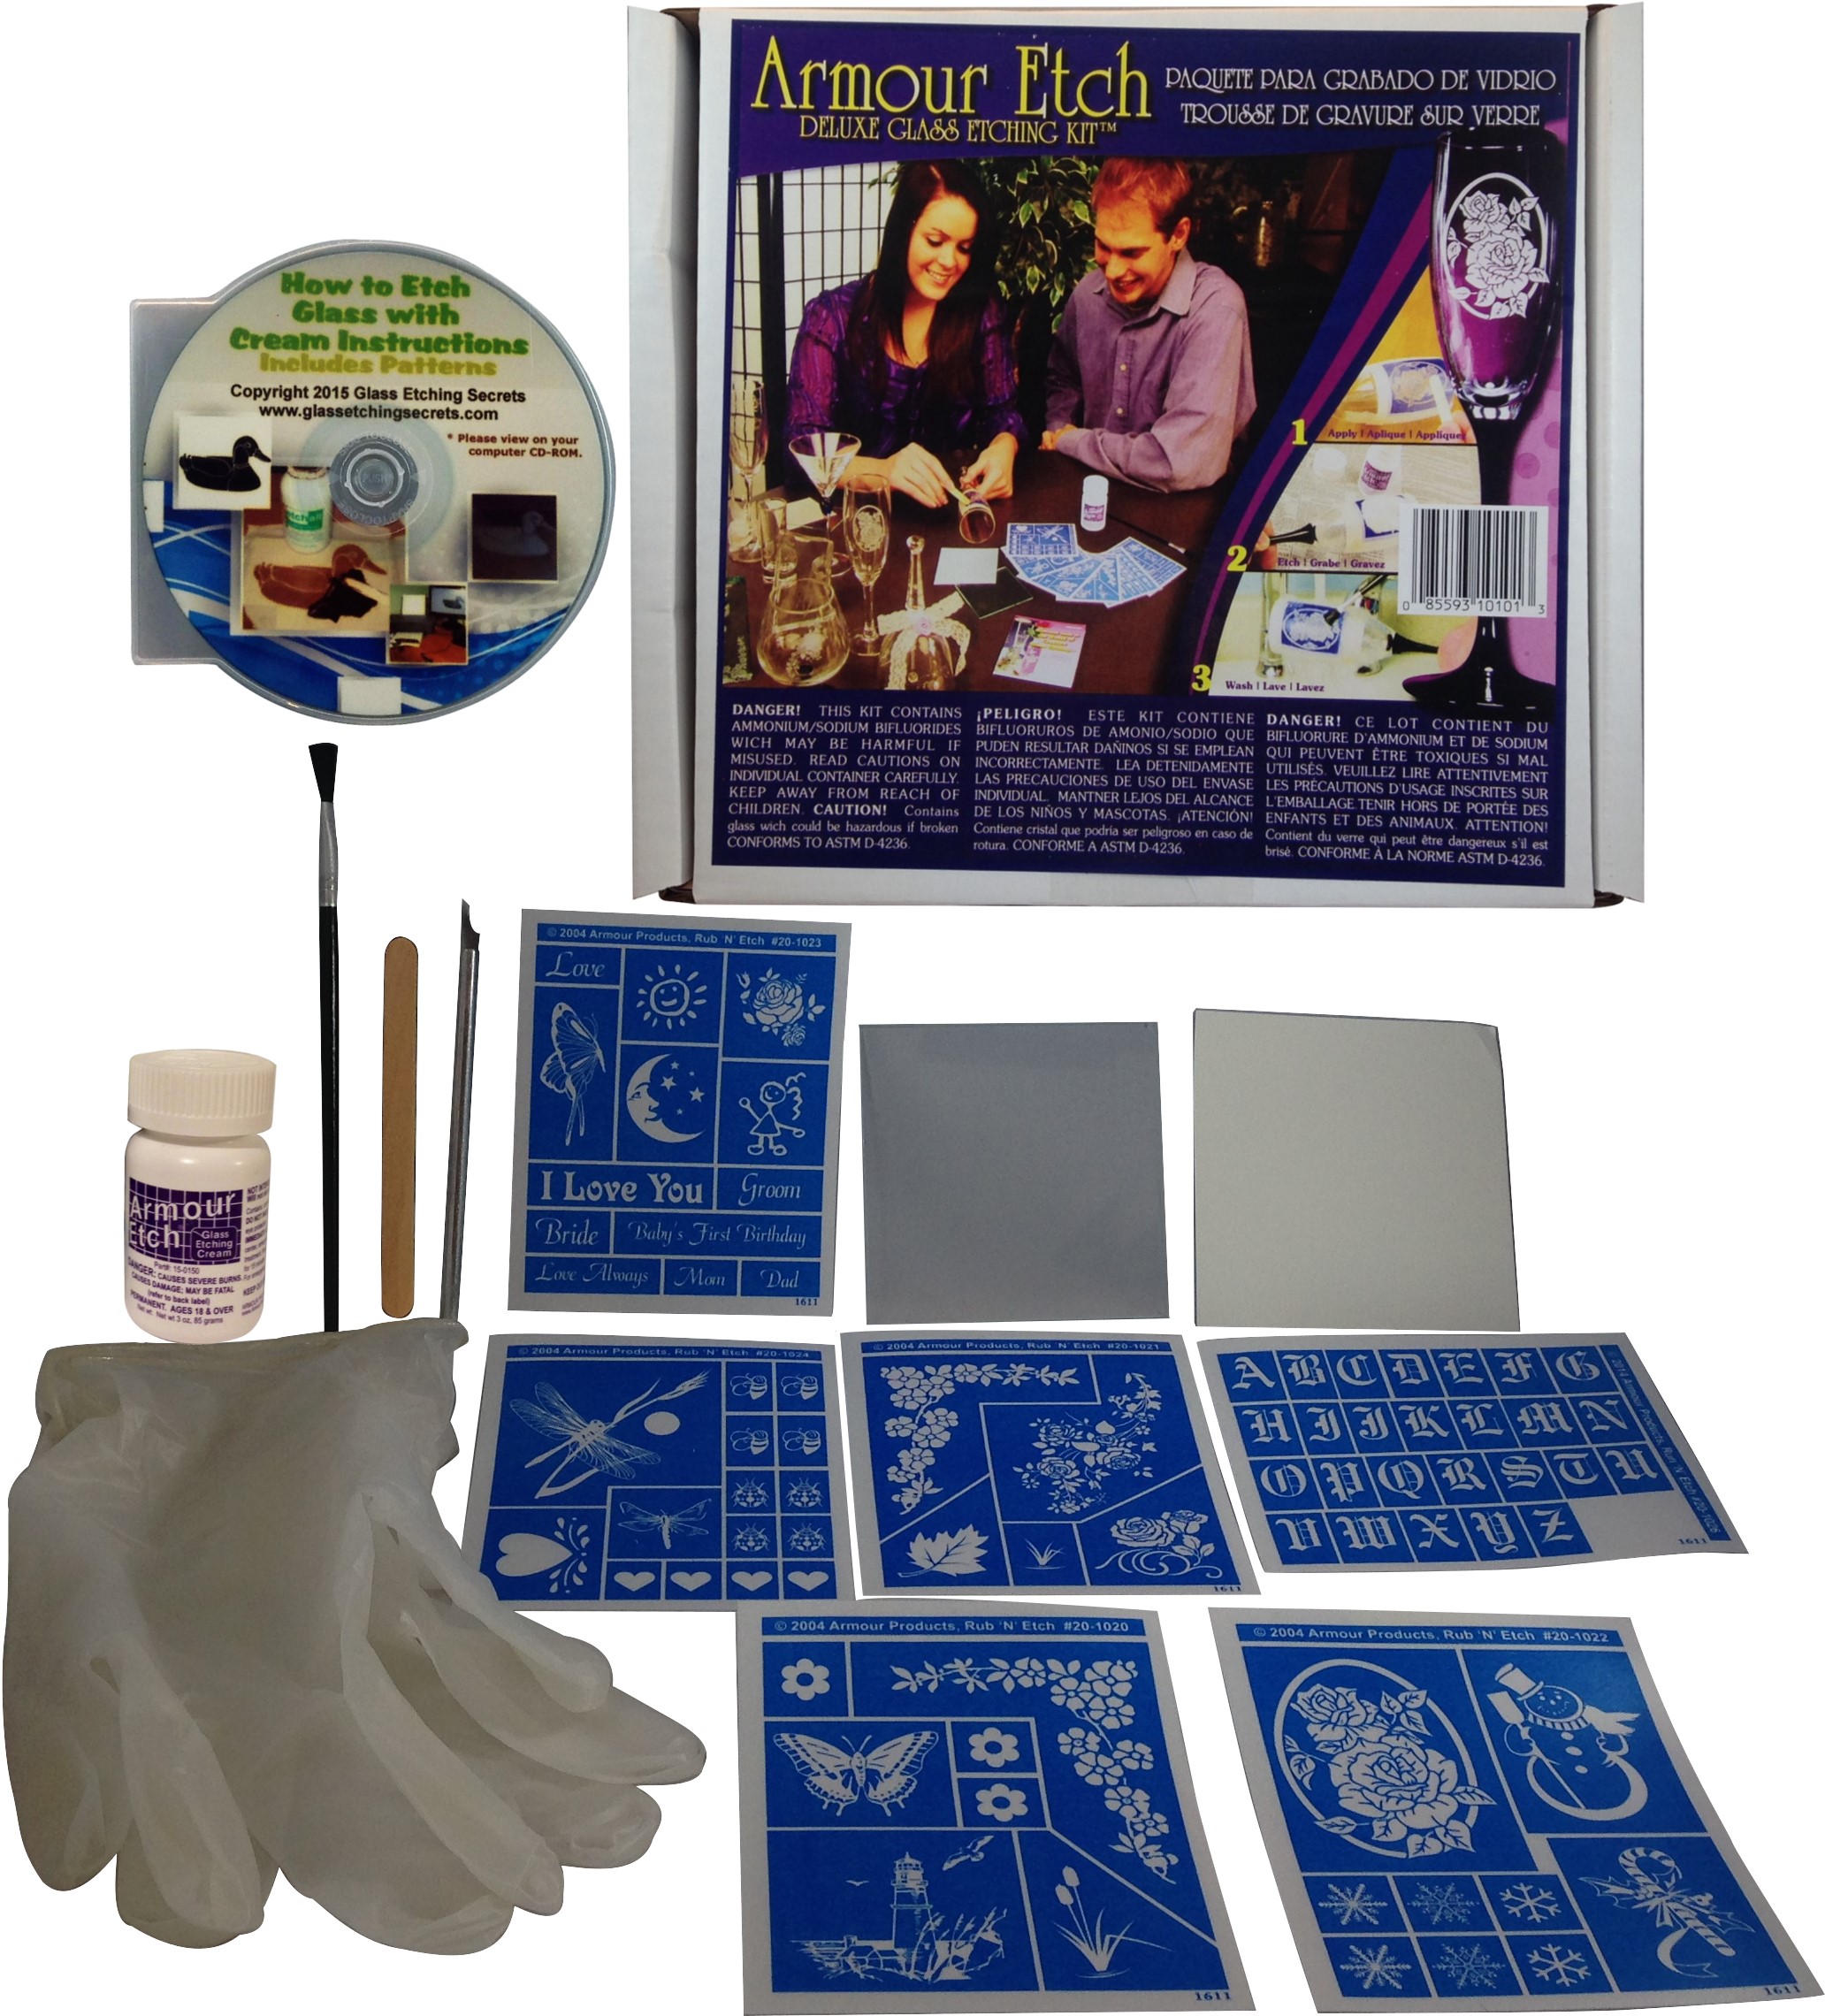
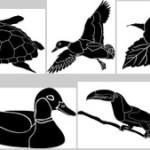 This duck stencil is something many people may have seen before. If you know what to look for, you can actually find many great patterns like this to use for free on the internet. I just pop it into my software, run the cutter and place it on the bottle as described in my membership area. In the member’s area, I also share links to thousands of amazing patterns to use for etching and techniques on find countless pattern designs online which many people don’t know about. There seems to never be something interesting for me to etch with these sources. So get out there and find some great patterns or sign up.
Tips on how to photograph etched glass
You may have heard it before, but the proper lighting is one aspect to taking proper photographs of your etched work. Experiment with different lighting sources to see what works best. I have realized it can vary for different types and colors of glass also or what time of day. The below shows a glass that was photographed at different times of the day. For this piece, the latter stood out more because the glass was darker while the etching part had enough light to reflect the white color which creates a great contrast.
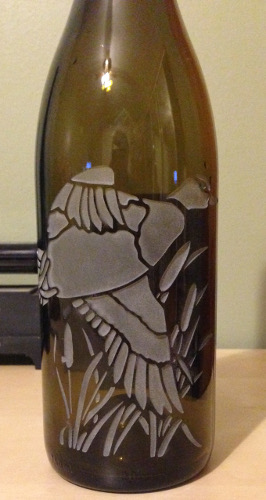
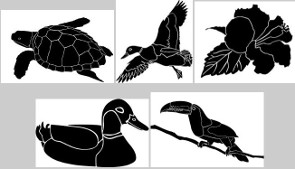
Example of an etched glass photographed in day light hours.
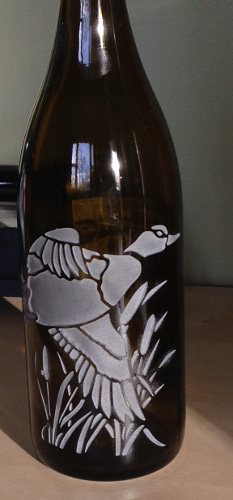
Another version of the duck stencil photographed during evening hours.
- Adjusting Brightness/Contrast – Try adjusting the digital image file’s contrast and/or brightness until it stands out better. Sometimes this does an amazing job to improve the image easily but other times, depending on the lighting situation, may not help.
- Flash On or Off? Many times I will take one with and one without the camera flash on, then check what each version looks like on your computer while adjusting the photo as discussed about to see which is best.
- Dark Background. Many people already know this but using a dark background always helps! I always use a black or dark blue cloth/substrate behind a glass or stuffed in a mug like some examples here.
Share this on social media or email by clicking below!

I am looking at the Dremel Micro for etching as I no longer have access to a sand blaster. Does anyone have any thoughts?
@Eileen,
This is another fun process. You can simply place the pattern behind the glass to follow. See here: https://www.glassetchingsecrets.com/engraving.html
i really loved it good idea on beer bottle i will try it
thanks
i am looking for nativity scenes that can be sand blasted or etched on glasses,at the age of 91 my templete cutting , as they say—not like was., iwould like to seesome that can be used more then one time
I’m looking for a template for an eagle head to try this weekend. I haven’t etched very much, but picking it back again. I love the tips we get, they are always very helpful for a beginner. I also have a Drumel but never tried it on glass. I have a lot of experimenting to do!
Interestering on taking photo of etchings. Trying to locate a tile saw to cut wine bottles. I make egg cups from the bottoms and etch on the sides.
I have been playing with recycled glass ideas and have been trying to cut a bottle in half length wise,with not much luck do you have any ideas? lucky bottles are cheap.
Hi Joe, check out my video on cutting glass bottles and download my free plans here: https://www.glassetchingsecrets.com/blog/home-made-bottle-cutter/
Thanks
Hello Eileen,
I recommend the Dremel Micro, it is a powerful, light weight, cordless tool that can be used for so many different things. Plus it also has variable speeds, did I mention it’s light weight too? This is one of thee best rotary tools on the market. Give it a try, I’m sure you’ll happy you did.
I am looking for a nice buffalo stencil. anyone know where to find it.