
A while back, I was talking about how I cut small but thick pieces of glass. This is the project I was working on for that and I forgot to share it. I hope it gives you some ideas.
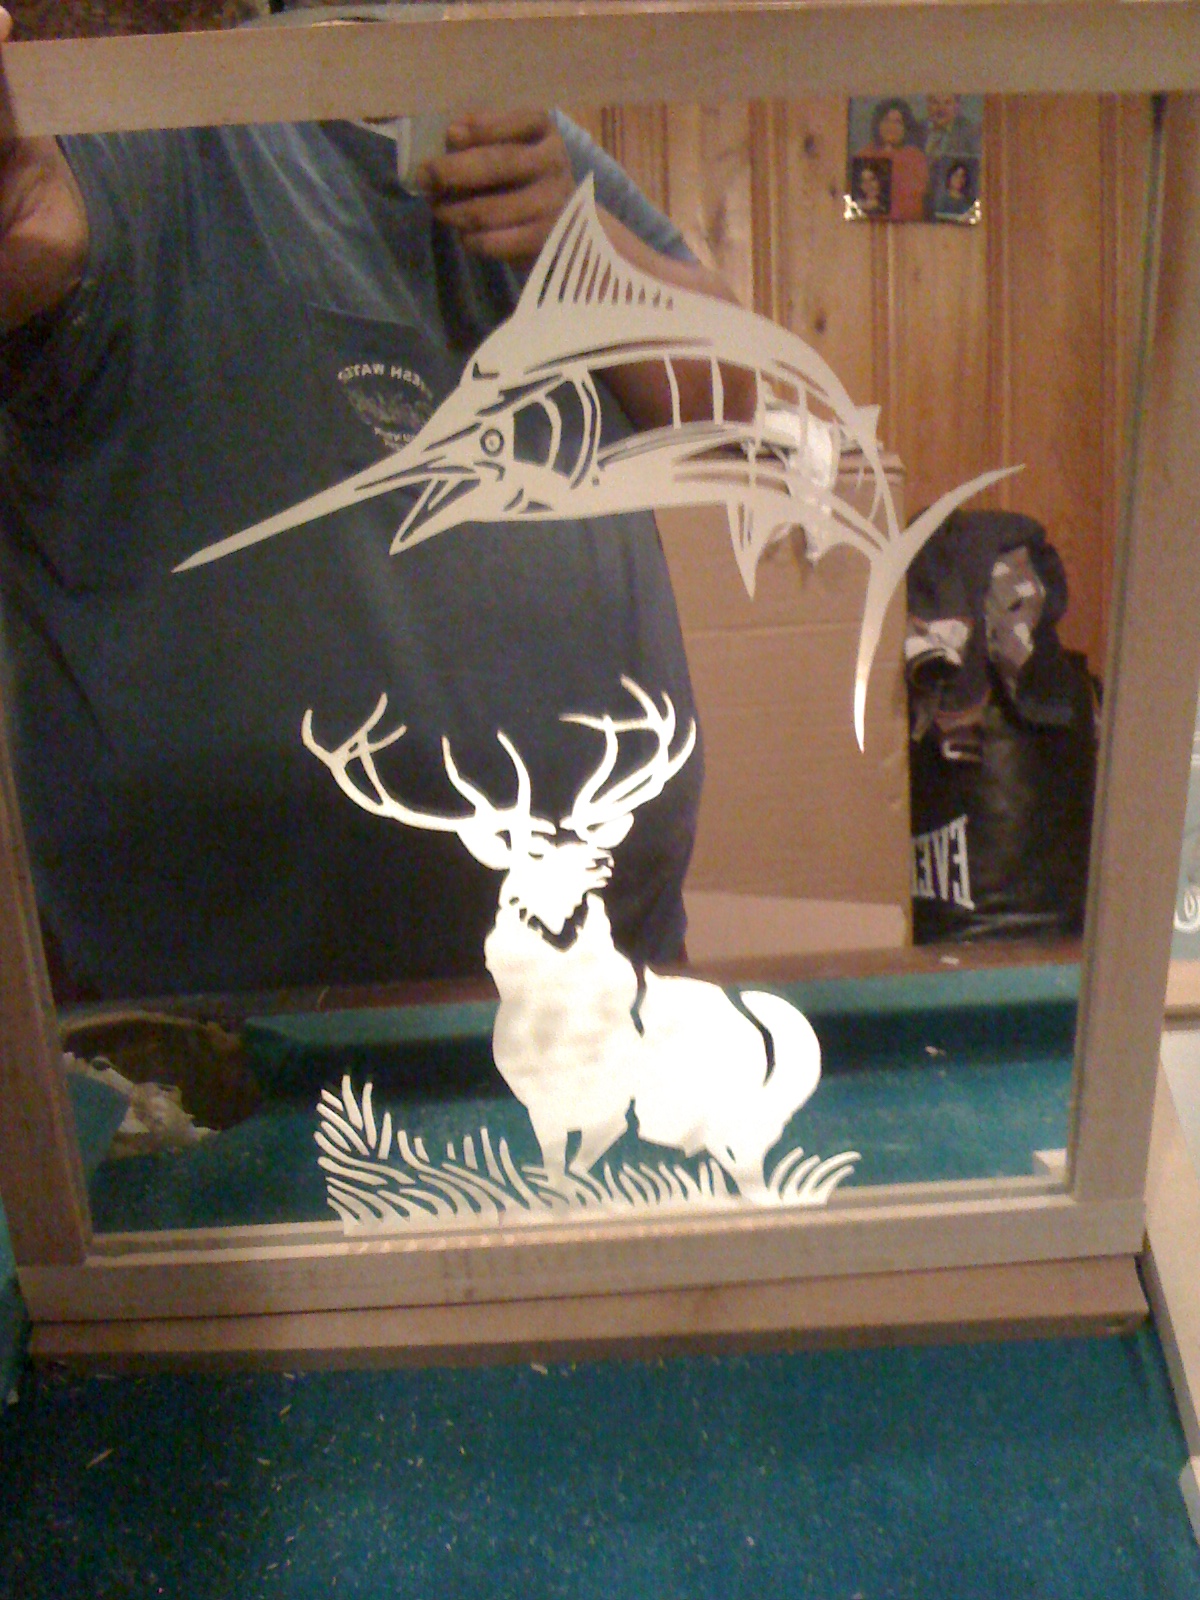
The idea I want to share here is my favorite item to sandcarve with 2 or more layers: carving the backside of a mirror! It’s not really new topic on the blog, but wanted to share again. This photo isn’t great because I was in a rush to give this as a gift to someone so you can’t really see the detail and it is hard to photograph mirrors because of the reflections.

For this project, I sandcarved a few simple layers of the Cincinnati Bengals football logo design. Since the design is rather simplistic with 3 colors and doesn’t have alot of 3-dimensions to it, these are great to start off with before doing more involved multi-stage sandcarvings.
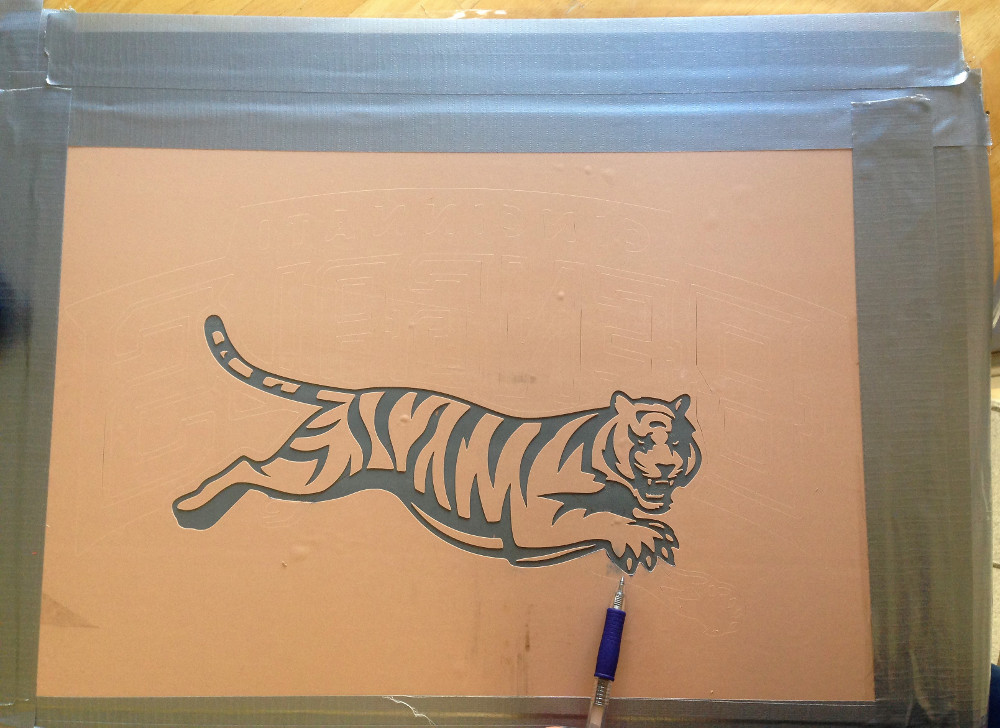
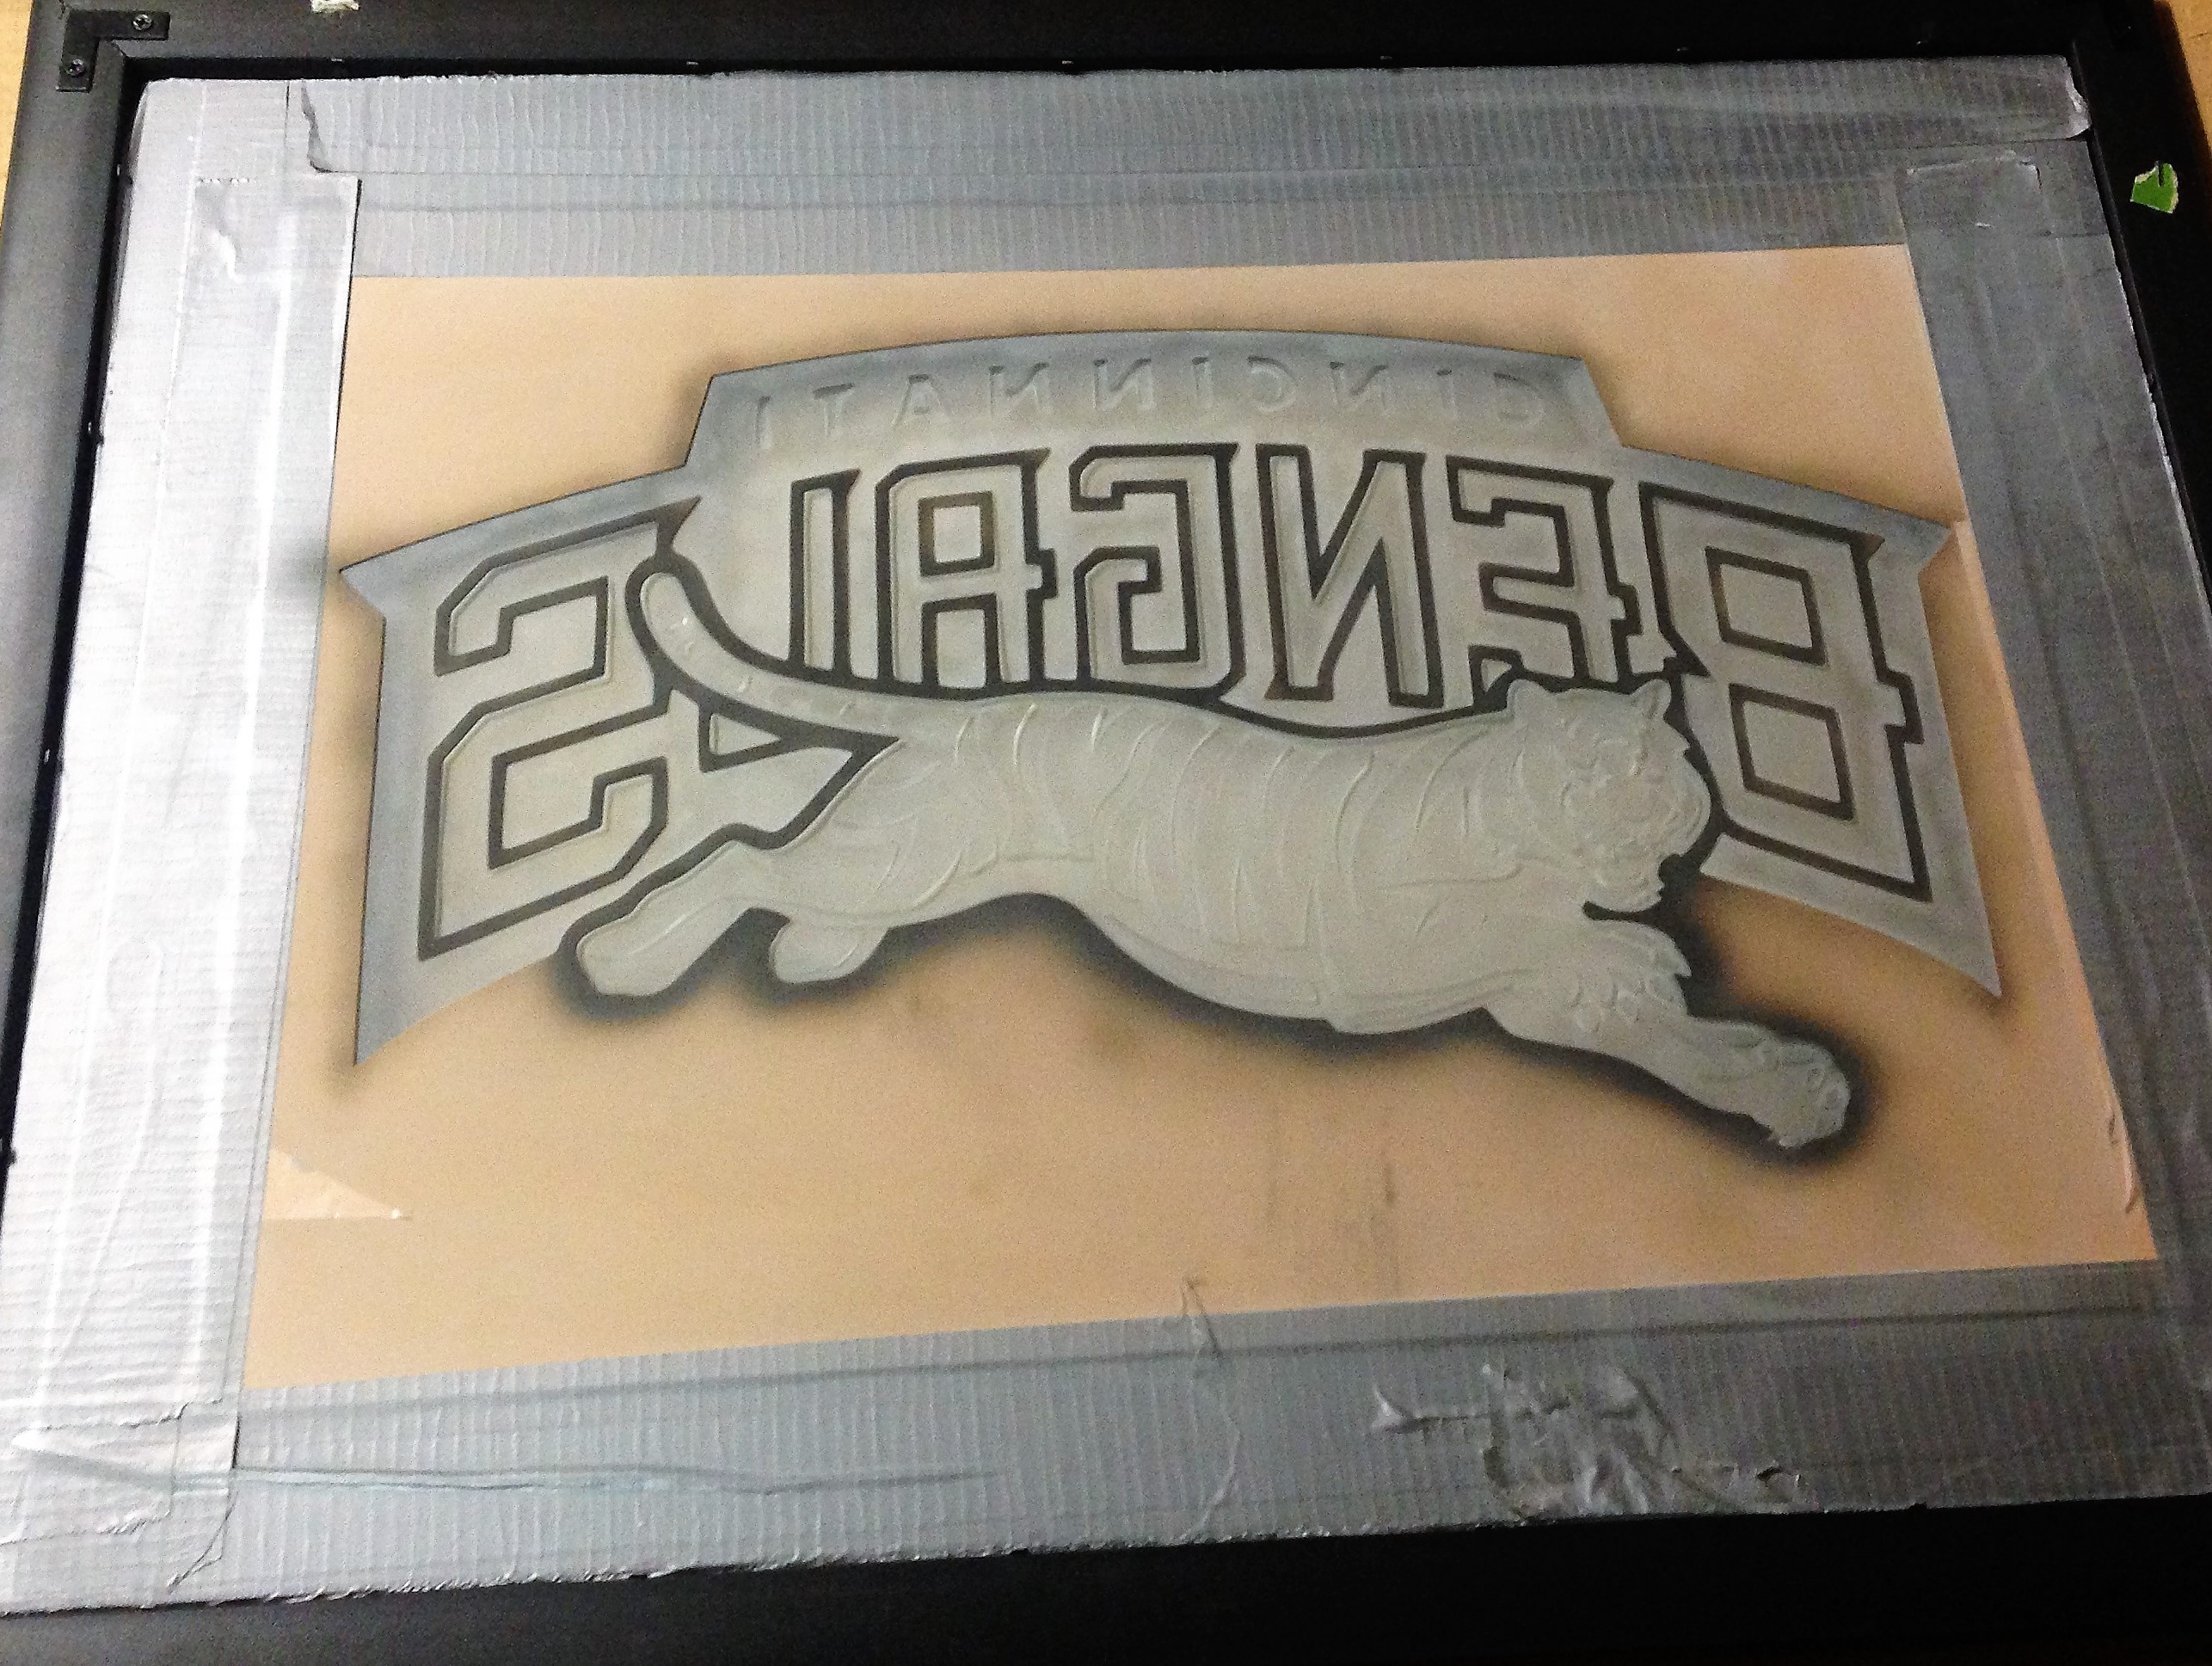
Since it is etched on the backside and looked through the opposite side of the glass, you have to first mirror the design with software as I briefly discuss in the Glass Etching Secrets ebook & in more detail in the member’s area. The above shows what it looked like after flipping the design, cutting the stencil, placing it on the back of the mirror and pulling the first stage to be blasted.
You will find a lot of designs have layers that overlap such as the two paws/arms on the right. In this case, I simply drew in where I imagined the edge of the claw would be, then hand cut it out with an Xacto-knife.
 After the project was complete, I used an air blow nozzle to blow off all the abrasive and wiped it down. Then I simply placed it in the frame with matting around it. The reason I decided to use matting is because the frame was too skinny looking for the large piece of glass and it covered up some imperfect cut marks that could be seen. The mirror has a way of reflecting any imperfect cut glass edges even if it is tucked under the frame some.
Also Note: I usually leave the sandmask stencil and tape on the backside since it is covered up. Reason being is because many times the removal will peel off the mirror silver backing and paint. High quality mirrors may hold up but I don’t like risk ruining the project once it’s almost complete.
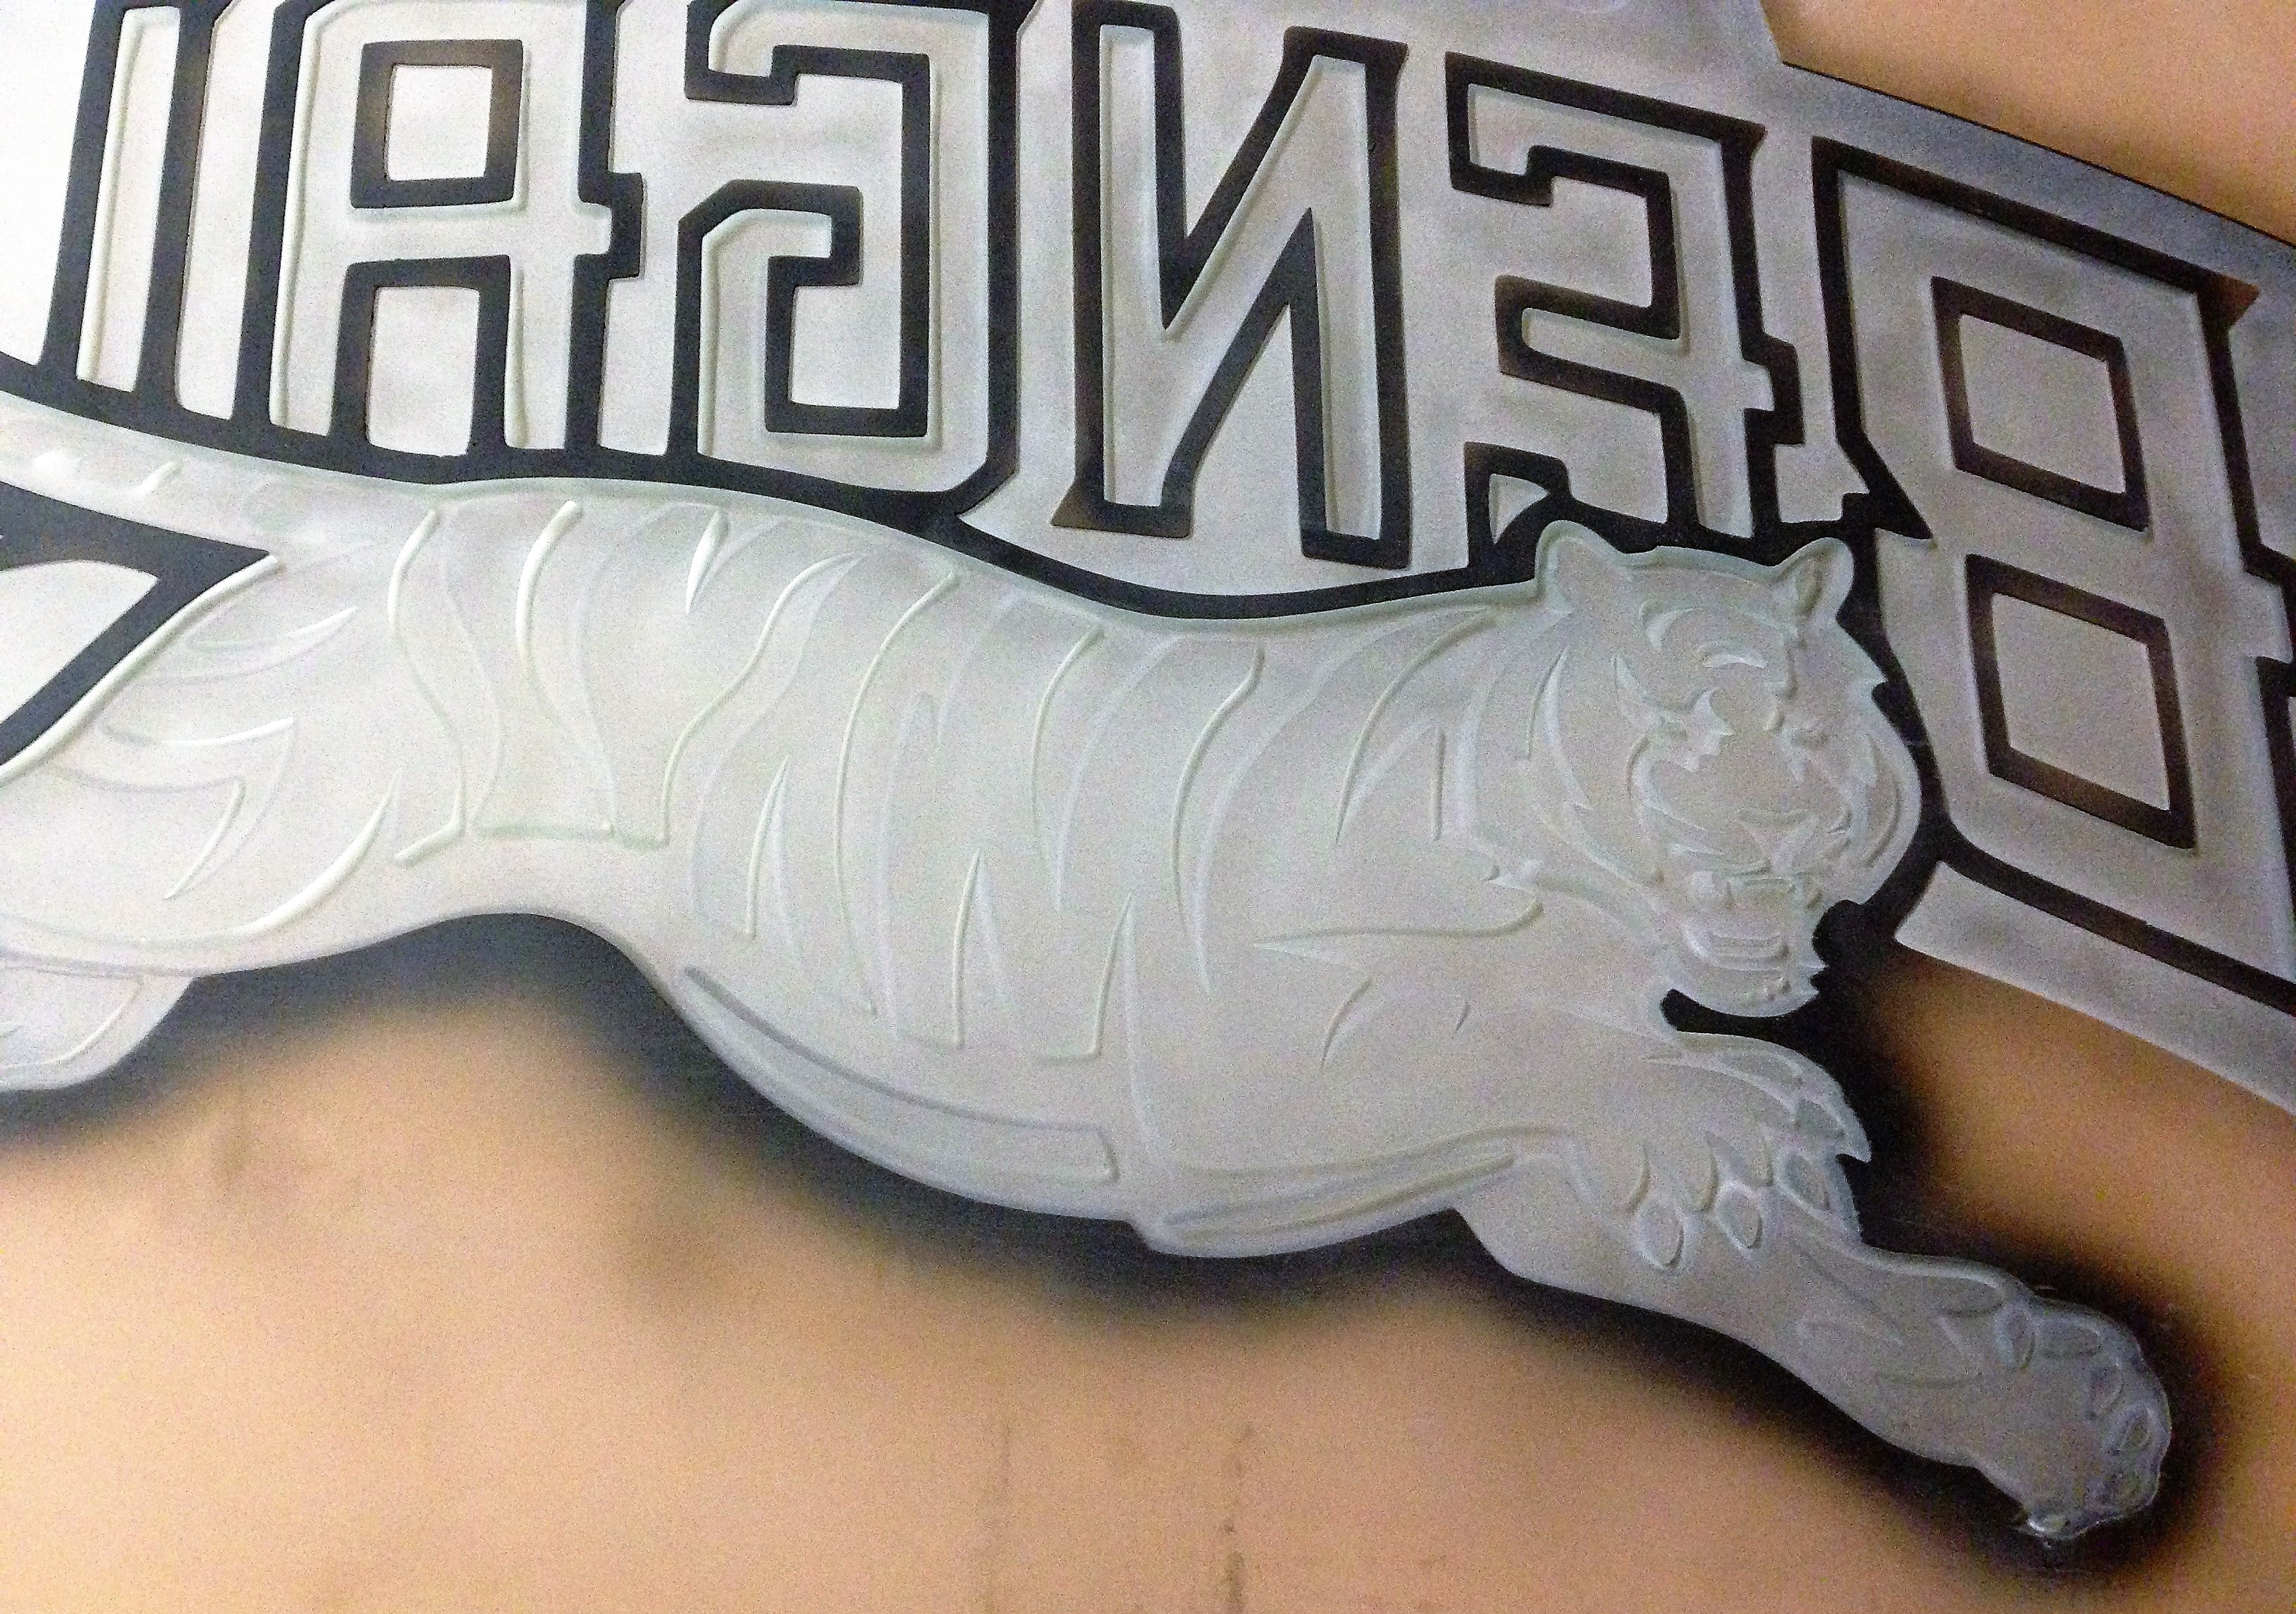
The above shows the backside carving closer up and you can click to see a zoom. I was thinking about installing leds on this to help highlight the carving better, but didn’t due to time. That is another idea for you though.
Please let me know your thoughts in the comment section or leave questions below. Thank you!
Share this on social media or email by clicking below!
Looks great. I have done the backside of mirrors but I did not go into as great as detail as this. I did simple designs then I coloured them with different colours then I put flocking material once I finished colouring them. When looking at the small mirrors it looked like the item etched was in side the mirror.
No I ‘ve never try it but I will how did you get the outline
Hi Eric,
Yes, I have sandblasted the backs of mirrors, only we do it for a different effect. It took us for ever to come up with the right formula of chemicals, but we basically just blast a framing area, (thin line) where a picture can be placed behind the mirror. Then we dig into our stash of goodies. The first step is to leave the backing in place, and use our soda blaster to remove the paint that covers the silvering. Then the chemicals come out, and we can totally remove the silver from that are, so the picture sits in the window we created through the mirror. I can’t go into great detail on what we use, as it is proprietary for our business, but it is a simple and cheap effect that many like. Works great for adding a wedding photo with marriage date, etc. on the front as normal etching.
Yes, Ive done this alot over the years. I like to have a piece where I can add small lights to the back. Nice accent to the mirror at night (wink)
I’ve done a of mirror sandblasting. Using contact paper works very good for me. I buy the shelf paper from Walmart. Comes in 12″ or 18″ length. Peel off easy not damaging the paint or silver backing. If you pull the paper off slowly you can reuse it a couple of times.
I have never but will look into it
No I have not done a mirror yet
I’ve never tried sandblasting but when I do my hand engraving I always etch the back of the mirror. That way I can add lights if I want.
The ones we’ve done are backlit with l.e.d.s.
Eric, I have never etched through the backside of a mirror. I’ve only etched right on the mirror (front side). This does look interesting and may have to try it some day. Thank you for letting me know about this technique……looks really cool. I’d like to see it in real life……some photos don’t do the artwork justice.
@ Suzanne, yes I agree. I was in a rush to complete it and give as a gift to a friend so didn’t take great pictures. When I see it next, I plan to take a better photo.
@ David Moffit, I do like those projects! They are very cool and I hope to do some in the future. Dana did one of these a while back here https://www.glassetchingsecrets.com/mirror-backing-engraved-led-sign
Thank you all for commenting. If you would be open to sharing your projects of these, please do so via email or here: https://www.glassetchingsecrets.com/submit/submit-etching.php We can feature you all!
Hi Eric,
I’ve sandblasted the backs of mirrors before and also did mirrors blasted front and back which gives you a nice touch and a little more dimention. Unfortunately I do not have pics or samples of those kinds of jobs, but with the right design and a little bit of patience, you can work wonders. You should try it out sometime and let me know how it worked out for you!
Keith, I’ve thought about doing that and know it would take quite a bit of time. If you do another project, please share!
Janine sent over these thoughts below. I never had an issue yet with the adhesive I use but worth looking into.
“I don’t recommend leaving resist on if being installed as it becomes brittle with age and the glue will break down and start leaking into the design. If you use a 4 ml you can remove it easier. Then I suggest you seal the edges where etched well. Always seal the back of a mirror.”
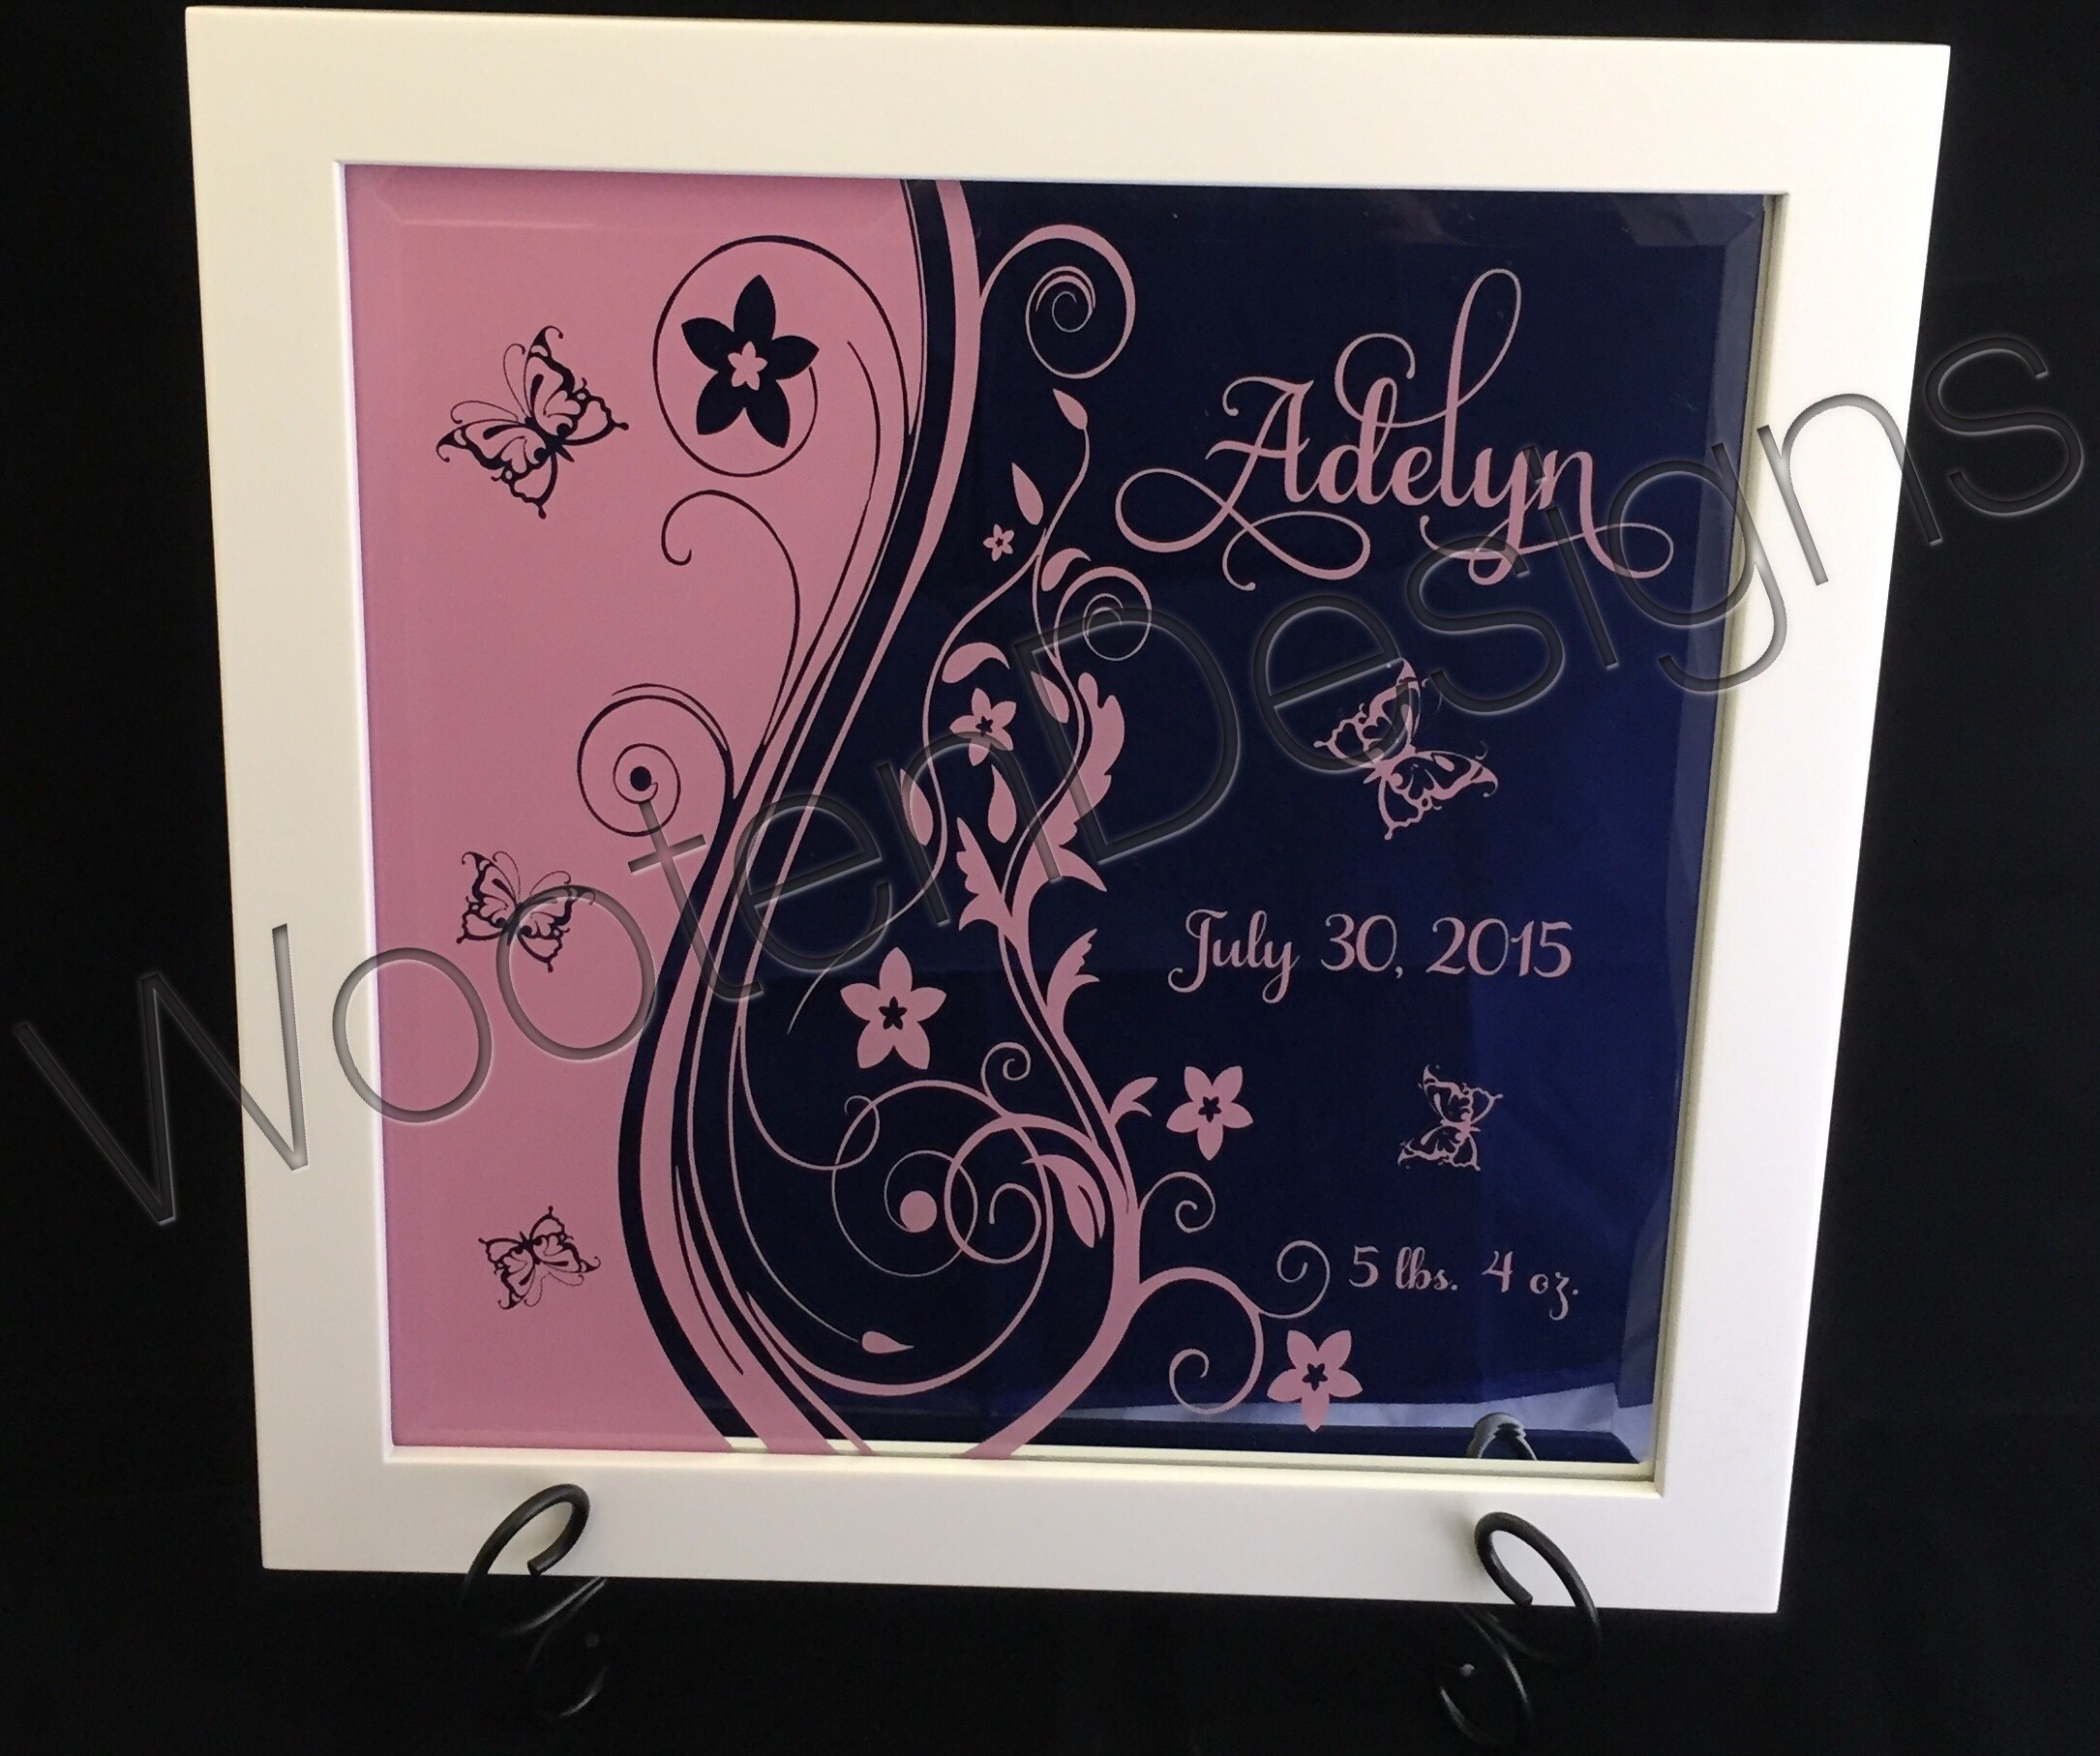
I do them all the time. I make a lot of birth announcement mirrors. They look awesome with paint on the frosted areas as well. Nice job on the mirror.
Eric,
40+ years doing various sandblasting projects! I have a 5′ cabinet that i built with a 4′ fluorescent light mounted on the back of the cabinet. When I blast the mirror, it is placed in the cabinet with the mirror facing the light. This way the light lets me know if the mirror surface has been removed during the process.
Adding colors: Transparent paint applied to the etching as needed. Currently doing of a mirror design for an Italian restaurant at this time. Most of the design is just sandblasted using 000 sand, with several areas painted with transparent red leaving the letters within that area just sandblasted.
God how many mirrors have I done over the years? Actually have a small lit box with two mirrors with my logo “a Touch of Glass” One has surface etched and the other back lit via battery and led lights. Also the surface etched design is sandblasted both positive and negative to show the different effects.
Of one more piece of advice. Always check the battery before meeting with a client! Embarrassing when it fails to light. LOL