Stenciling is just about as important as the actual etching process. You can make stencils through a variety of different processes, and this is something my membership videos will show you in depth.
Listed below are some ways to create stencils:
Buy Them Pre-Cut
First, you could just purchase them. In my opinion, this is a lame way to go and not very creative at all. Pre-manufactured stencils aren’t unique, and there usually is only one established size. Since this is an artistic field, I always recommend that you make custom stencils. Remember that is one of the reasons you are doing crafts or art to begin with- To express yourself through your work, not through some mass produced manufactured stencil. So I recommend trying out one of the methods below….
Hand Cut
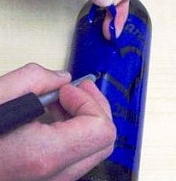
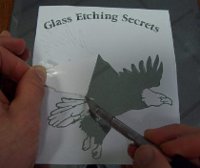 Second, you could purchase pattern graphics in electronic form and trace them out on vinyl. This is often done with carbon paper. After they are traced or printed on vinyl, you can manually cut the areas out with a hobby knife such as an Exacto knife.
Many people chose this method for making thicker stencils out of a material called a sandmask.
Advanced Cut with Machines or Photoresist Processes
 Third, you can use advanced stencil cutting machines or methods. This allows you to make a resist stencil quickly and personalize it with any size that you desire in a matter of seconds. The only part that does take some work is pulling out the cut areas unless you’re using the photoresist method. These methods can usually be expensive, but I show you how to get some without spending thousands of dollars in information manuals. With the cost saving advice and guides, it can help you obtain this equipment at the lowest price possible, even the casual hobbyist could afford one. No more hand cutting stencils for your project! It also has the ability to dimensionally re-size graphics quickly without any guess work.
Stencil Vinyl Resist for Different Etching Methods
There are many different thicknesses of vinyl to use for your stencil and the thickness depends on the etching method you’re using. The thickness is measured in mils with a higher number meaning a thicker sheet.
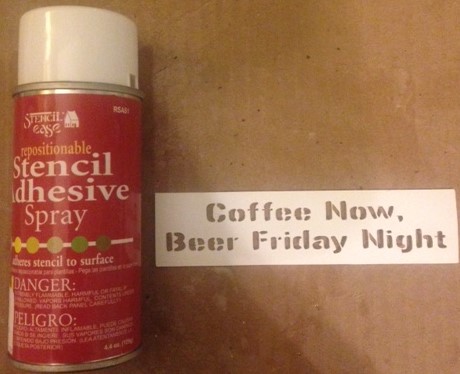
When using acid cream, the thickness doesn’t really matter, and a cheap piece of vinyl will usually work great for any of these projects. Most people use Contact Paper, which can be found at nearby “office” or “craft” stores. It works great because it has an adhesive backing to it so you can stick it onto your glass and prevent the cream from etching areas without intent.
If you plan on sandblasting, you will usually need to get a thicker vinyl material, and it also depends further on the desired depth that you will be blasting into the glass. For light surface sandblasting or when using the abrasive shading techniques, a thin piece of vinyl such as Contact Paper may be adequate. Contact Paper is about 2- 3 mils thick, and you can always double or triple the layers up if you wanted to be on the safe side.
When you’re engraving deep into the glass, known as Sandcarving, you will need a thicker mil to withstand the higher blasting pressures. For most applications, I suggest you use a stencil between 5- 25 mils thick. It is always a good idea to find a vinyl that has an adhesive backing, so you don’t have to apply glue yourself. This saves a lot of hassle when placing your stencil resist on your glass piece.
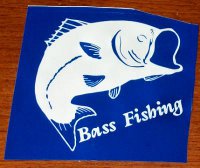
Want to see some examples of my past work. Check out some of my simple etched mugs.
Need Some Help?
I began helping people by providing them free stencils to be used for glass etching, egg carving, spray paint stenciling, or whatever you need it for. All you need to do is write a quick idea on your own blog (please make sure its an active blog) or website. Then fill out the form on this page and let me know.
Please allow me up to a week to have these shipped to you. This service is provided free to promote my site with free shipping to the North America. It’s a service that most companies would charge $20- $50. If you’re interested or just want to discuss your current project, send me an email by filling out the form.
Share this on social media or email by clicking below!