
 Whether you used oil that isn’t made for glass cutting or the roller just clogged up over time, this post will explain how to take apart and clean a glass cutter.
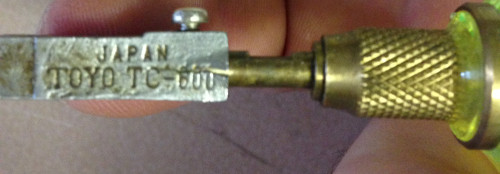
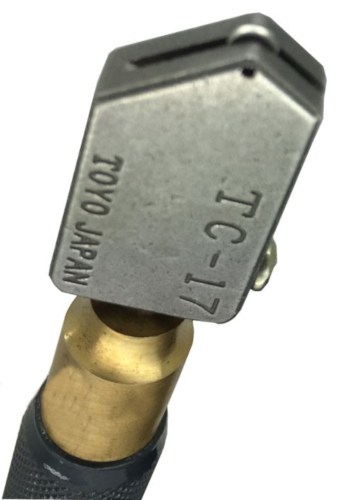
I haven’t used my Toyo cutter in a while and recently realized the head and roller blade was quite clogged up with gunk. I believe it may be more prone to be clogged when unapproved oil is used. Embarrassingly, I figured it would be okay to use vegetable oil in my cutter which appeared to dry up and clog the head. After my mistake, I recommend you use approved cutter oil which is usually under $10 and found on Amazon here or here.
As a side note, I talked about if cutter oil is even required in this post.
Anyway, the below are the steps I took to clean the cutter.
 1. Pick out deposits with Exacto knife or needle.
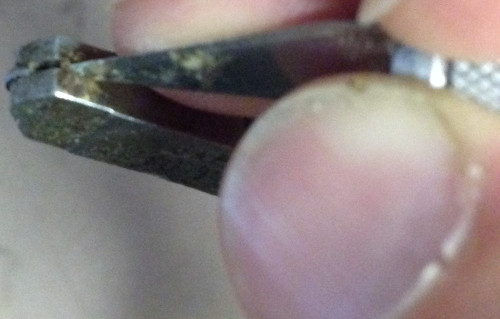 1. Pick out deposits with Exacto knife or needle.
The first thing I did was use a sharp pointed Exacto knife that was on hand, to pick out and loosen the deposits.
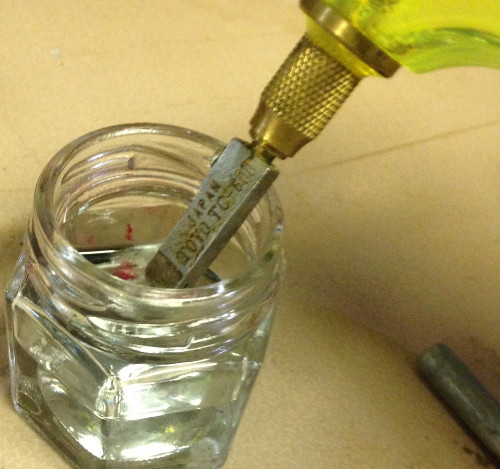
2. Pour solvent into a small jar and dip the cutter in.
I used lacquer thinner as a solvent to help dissolve the oil and gunk that clogged up the roller blade. I dipped the tip of the cutter in, but then realized it was probably better to remove the head completely for cleaning, as shown in the next step.
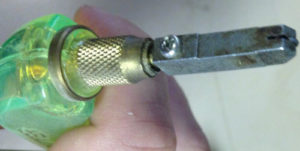
3. Remove the cutter head with screwdriver
Most quality cutters have a screw on the head which can be loosened to take it off for cleaning or replacement. Simply loosen the screw until the head can be pulled off.
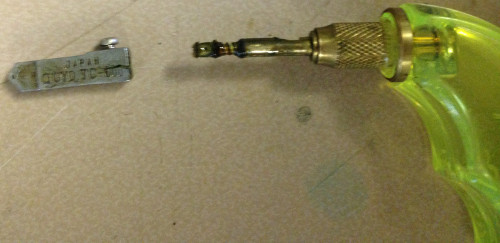
A view of what the cutter head and cylinder plunger looks like.
4. Soak the cutter head in solvent and scrap more deposits out.
I then dipped the whole head in the solvent to soak for a few minutes and scrapped it out again. Repeat this step 2-3 times. Also, I wanted to point out that the oil plunger inside of the cutter has rubber o rings which may deteriorate when exposed to lacquer thinner so do not dip this part.
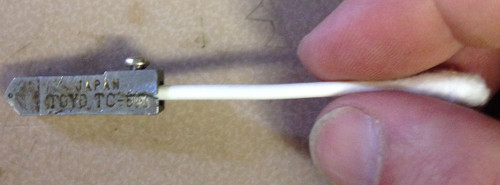
5. Clean the plunger cylinder with Q-tips
The plunger cylinder in the head can contain a lot of gunk too. I pulled off some of the cotton from the Q-tip so it would fit inside the cylinder. Dip the Q-tip in lacquer thinner and wipe out the cylinder a few times. You should also wipe down the plunger.
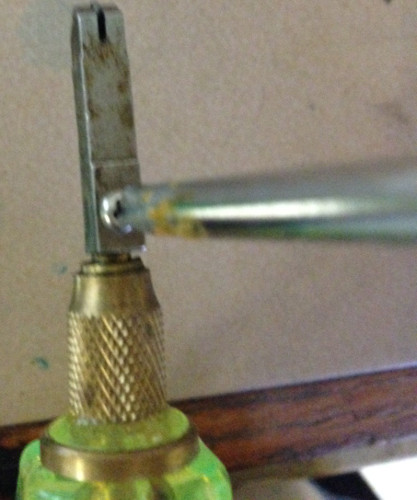
6. Position the head back over the plunger and tighten screw
Once the head is all clean and the roller moves freely, you can slide the head back on. I suggest you oil it first or you may have problems with it binding. There is a notch in the cylinder outer wall where the screw should be over. Tighten the screw down once it is over this notch.
I hope this post was helpful with suggestions on cleaning your glass cutter or that it at least informed you not to make the same mistake of using cooking oil. If you have any suggestions or found a good alternative oil that you’ve used, please leave a comment below.
Share this on social media or email by clicking below!

Great advice! Thank you.
Thanks for the tips. I was about to bin my cutter ad get a new one!
I am glad it helped!
Yep, I need to do this. Thanks!
Wonderful page. Very useful and well-done.
Thank you for the pics and info!!!
I’m old school. Over 30 years ago, I was shown to use Woods Clear Kerosene, a triple-filtered fuel for camping wick-feeding lanterns and heaters. It doesn’t leave an oily mess on your glass, patterns, or the cartoon; it evaporates relatively quickly with very little clean-up.
Play safe from Elliot Lake, Ontario. Canada.