
We offer a wide selection of reusable glass etching stencils here. These are sold under the brand name, Over n’ Over because they can be reused up to 20-30 times. These stencils are very flexible and easy to use. Follow the instructions shown below.
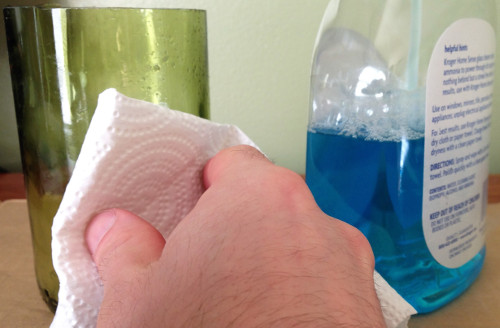
1. Clean the glass
Start off by using a glass cleaner and a paper towel or rag to clean the surface of the glass as shown below. Be sure to wipe dry.
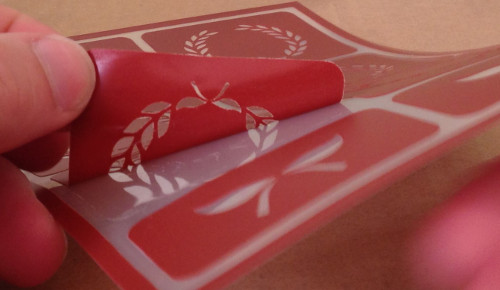
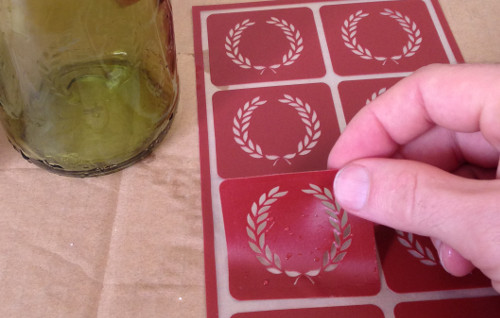
2. Peel off the stencil
Remove the stencil from the carrier sheet. If it does not lift easily, try not to break it. Instead run warm water over the stencil to soften it and try removing it. Be sure to remove any water after removed.
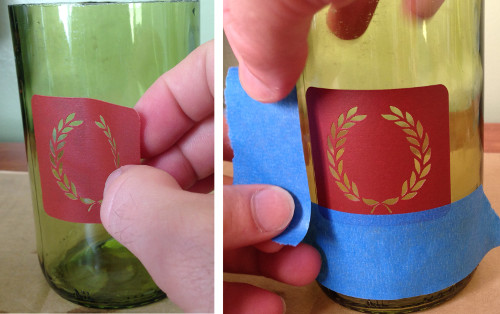
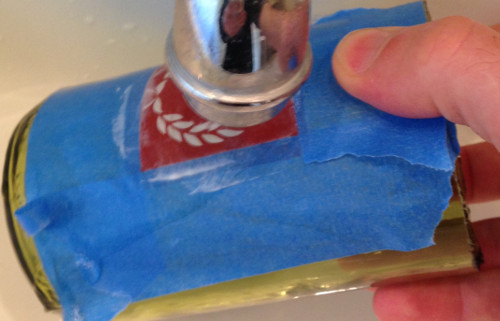
3. Place on glass and apply masking tape around the edges
You may eyeball the stencil in place or align it on the glass evenly by measuring it and using a marker to mark where it should go.
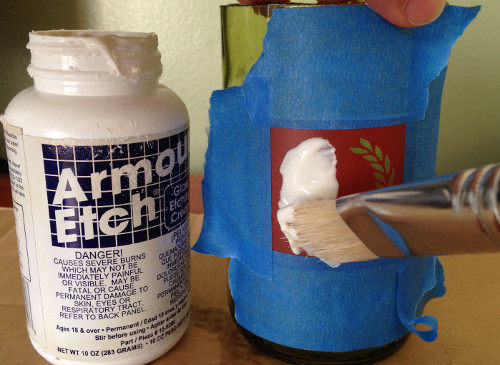
4. Apply a thick coat etching cream & wait (sandblasting can be used too)
You can use a bristle brush, foam brush or even a popsicle stick to apply the cream. Just be sure to apply a thick coat over every part of the stencil so that it isn’t visible. Armour etch now recommends that you only leave the cream on for 1 minute. Etchall recommends 15 minutes.
Note: These stencils can also be used to etch with a light sandblasting process at low pressures and fine abrasive such as 180-220 grit.
5. Wash off the cream
Run water over the stencil to wash the cream off. I like to use my brush to help rub off the cream while rinsing which also helps clean both. Note: if you have a nice sink and don’t want to risk etching it, you might want to use a basement laundry sink since many of those are concrete or plastic.
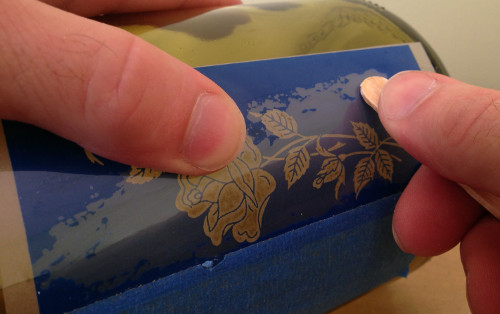
6. Remove the masking tape & stencil
Be sure to save the stencil since it is reusable by placing it back on the carrier sheet.
7. That’s it!

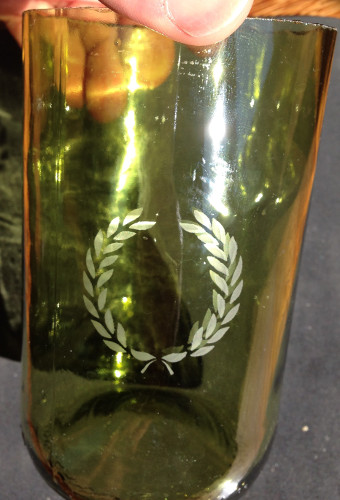
If you have any questions, please be sure to leave them in the comment section below. Thank you
Share this on social media or email by clicking below!

I like the idea that I could use my sandblasting method on stencils. If I cut down the pressure on the sandblasting will I be able to use the stencil more then once?
@Joan, yes but it requires a finer abrasive. It is recommended to have around 180 grit or finer. This is a grit many of us use for the photoresist stencils too since those are thin also.
What tape is best for sand blasting
Bob, there is a sand blasting tape use that is very good, I believe by 3M. It’s a bit more expensive so I usually just use masking tape doubled up. More aggressive blasting might require more layers or duct tape
I bought the armour etch product. Used it as ditected. Left it on longer as others recommended also. It did nothing to my glass candle holder.
@Kathy, that is interesting to know. I’d like to point out a couple things:
1. make sure you stir it well, as it is possible the active ingredient could settle to the bottom. Especially with the cold temperatures, it may need to be warmed up near a heater and stirred.
2. Have you tested it on other scrap glass like an wine or beer bottle to see it that etches? Some glass is less prone to etching than others.
Please let us know. Thanks
When I tried to peel the stencil from the carrier sheet, it left a very thin layer of plastic on the back of the stencil, so the stencil is not sticky and won’t adhere to the glass surface. Any suggestions on how to get the plastic film off the back of the stencil?
Thanks.
Vanessa, I am sorry to hear about this. The first suggestion I would have is to use a hobby knife such as an Exacto knife to try picking it off. Poke it under the plastic while slowly prying it up. Please let me know if that helps
Thank you for the suggestion. Between an Exacto knife and a flat tipped screw driver, I managed to scrape most of the plastic layer off. It was difficult as there were some very tiny pieces that I think got stretched a little as I scraped, but all in all, it worked enough that I could use the stencil for the project I was working on.
Thank you again for the suggestion.
Hi,
I have three shower panels to decorate with a geometric design, I have no problem making the masks but would like to know about Armour Etch properties.
Can I etch toughened glass?
Does the length of time Armour Etch stays on the glass have an effect on opaqueciticy?
And finally, can I etch large areas without noticeable streaking or uneven patches?
Thank you,
Adam