
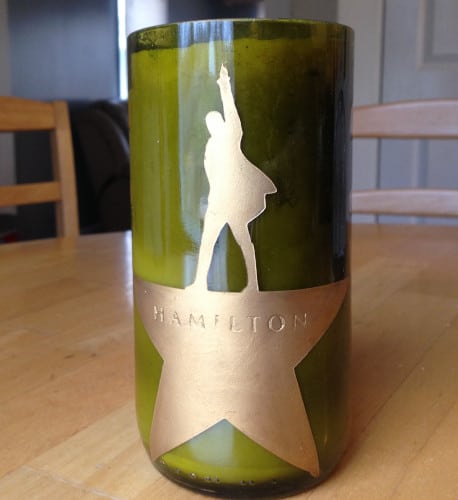
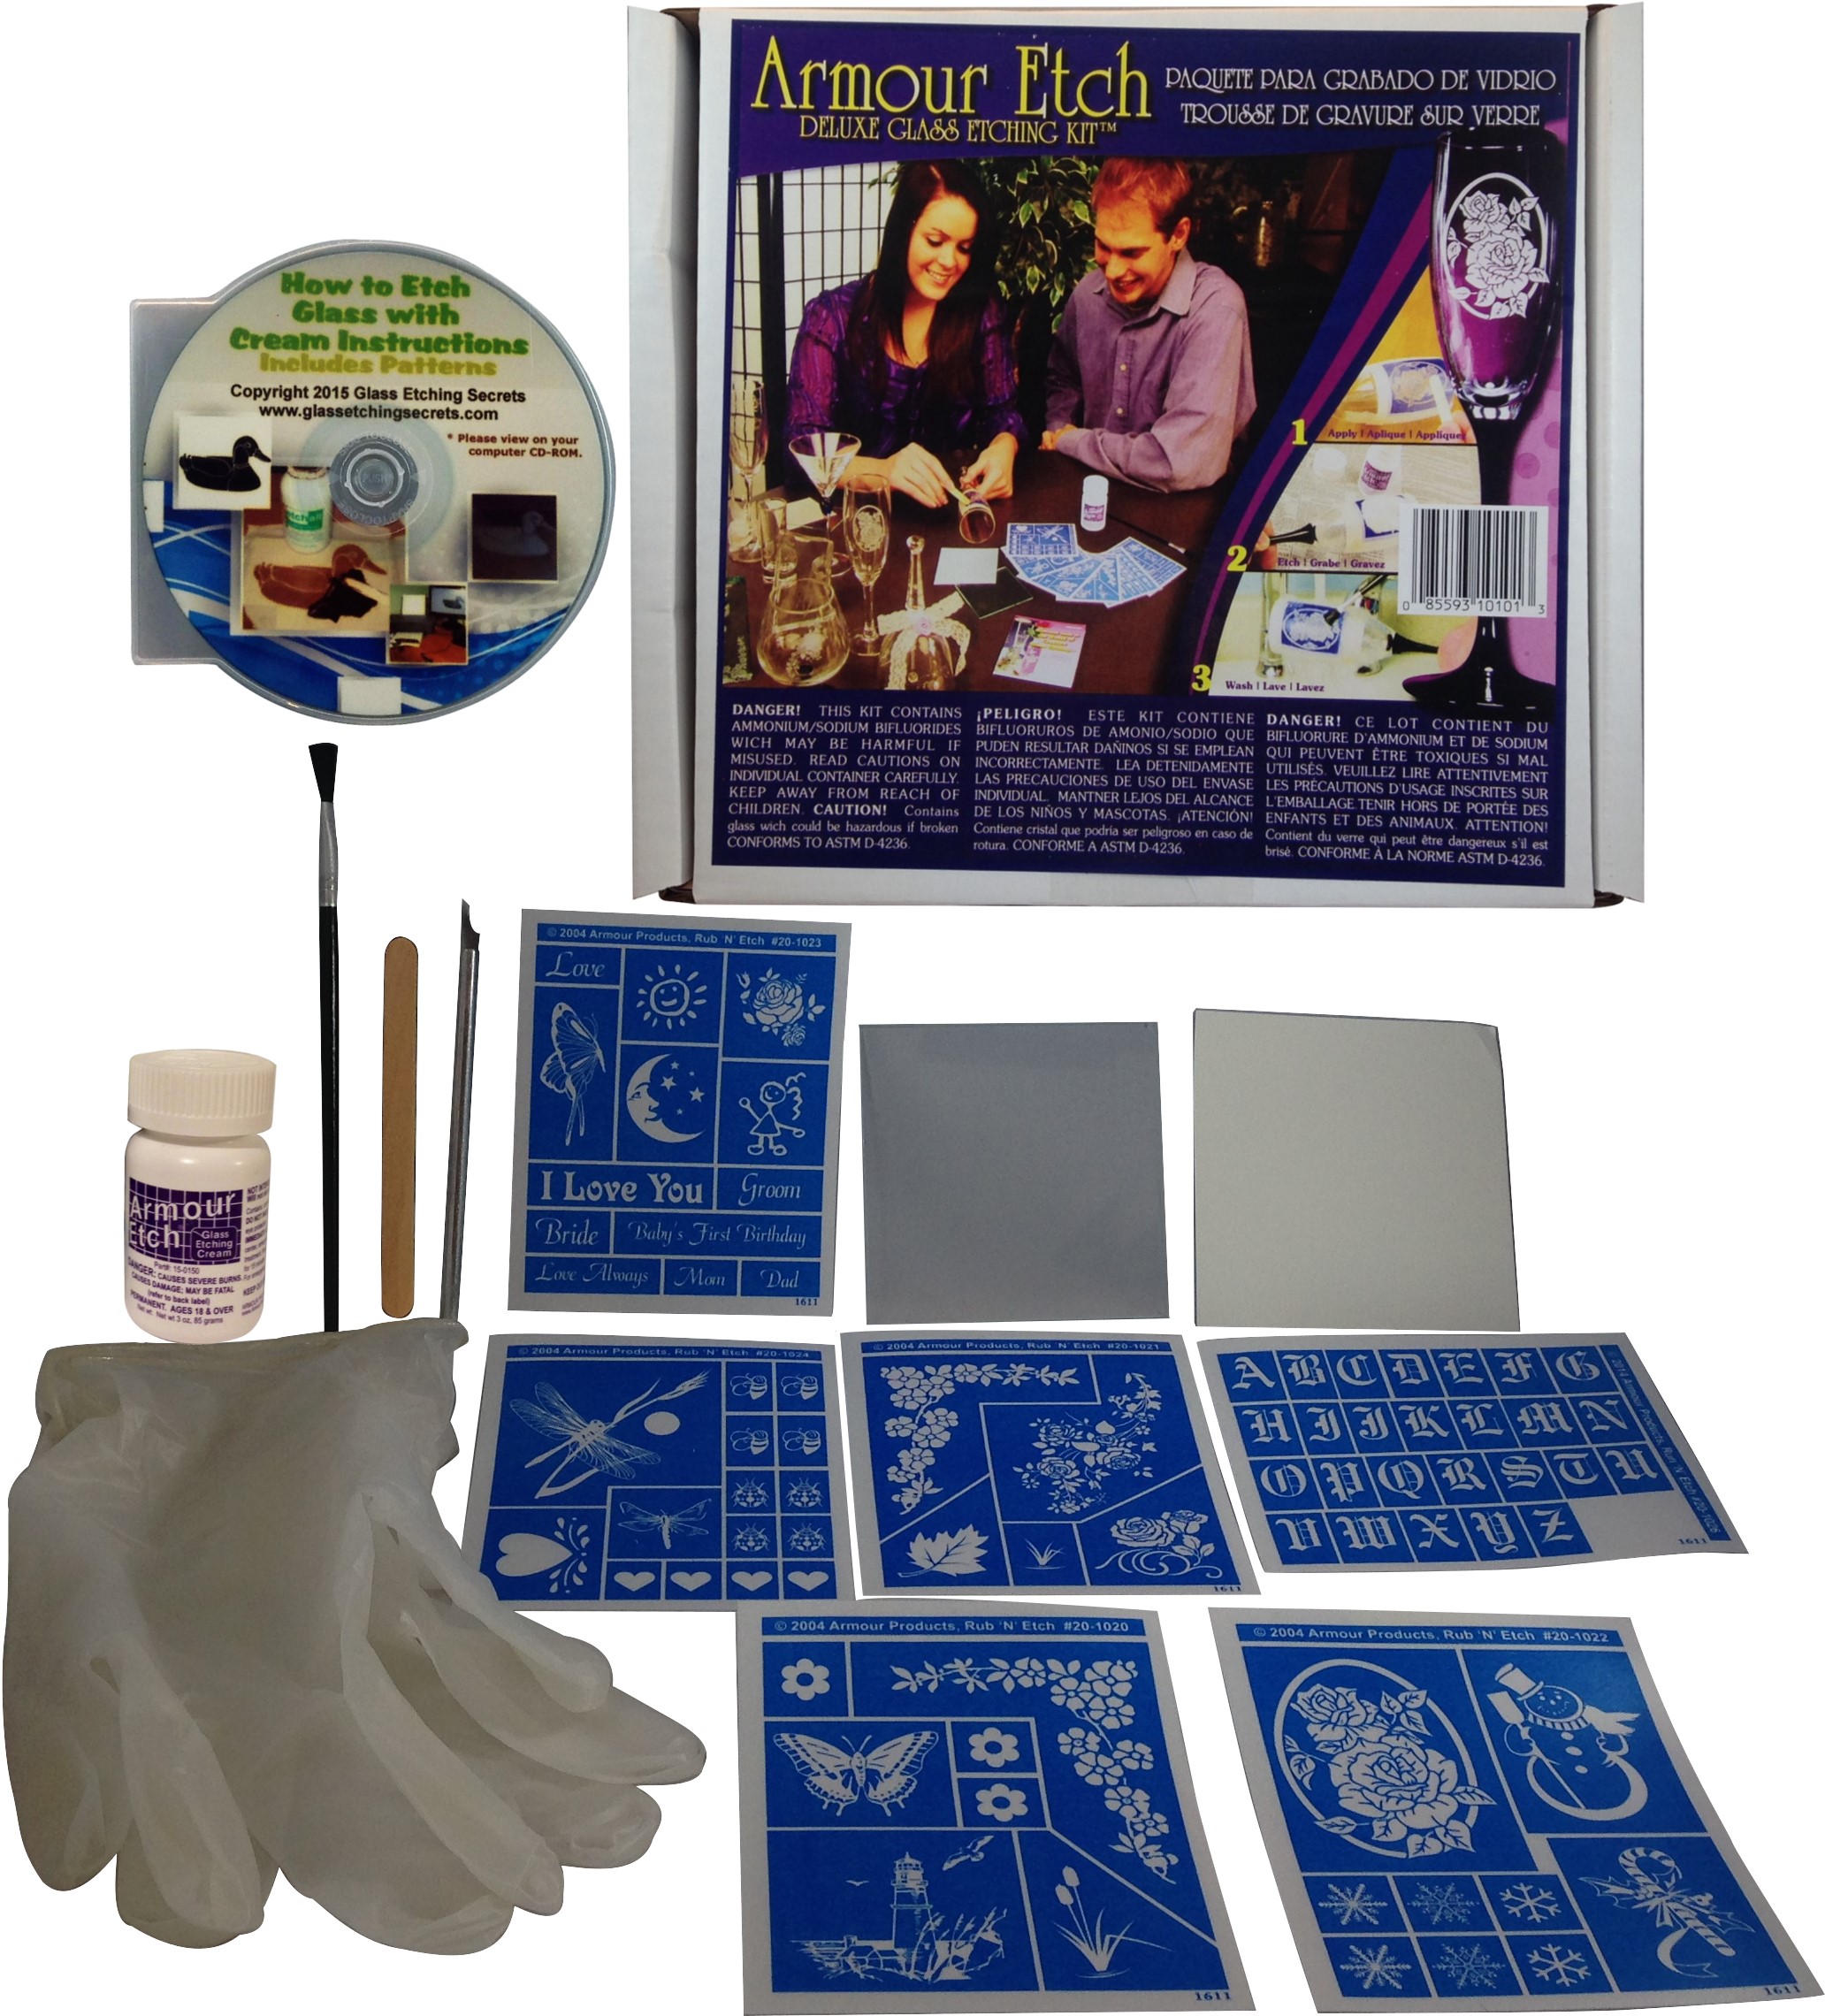
At the moment, we only offer our Rub N” Etch stencil through our Amazon store here. There are positive traits with the Rub N’ Etch stencil type is they are more detailed and the etchings can look much better. The negative traits are that they can only be used once, can only be used with etching cream and can be tough to apply but these instructions should help.
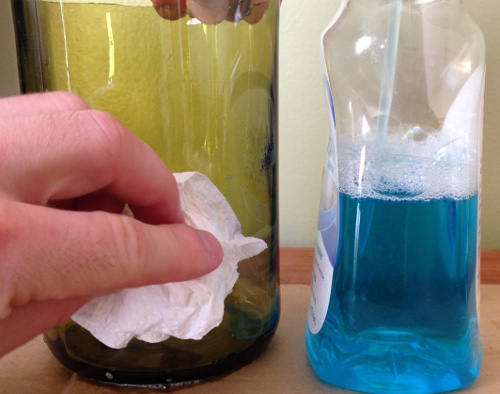
1. Clean the glass
Rub the glass surface with a towel and glass cleaner until all the oil residues and grime is removed.
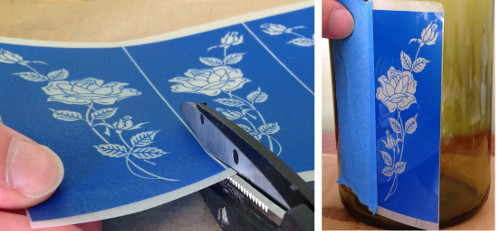
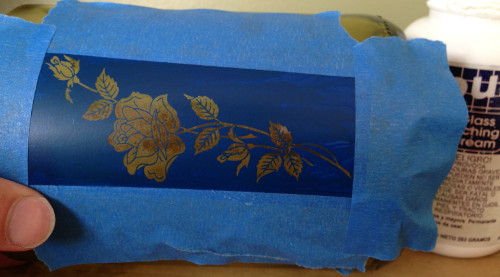
2. Cut out the stencil from sheet & apply masking tape to one side
With the stencil cut out, you can align it onto your glass with masking tape on one side. The tape will hold it in place. Be sure the rougher, non-carrier sheet side is facing the glass. (Armour’s instructions that come with the stencil say it is tacky but that is never really the case).
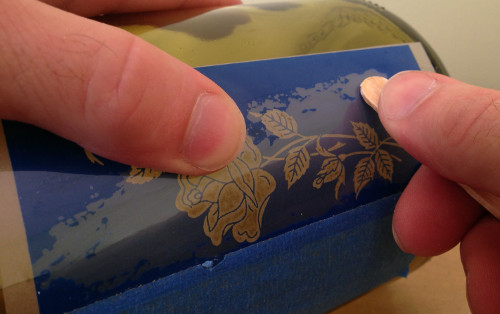
3. Burnish the stencil into place
Although the stencil doesn’t have noticeable adhesive, it sticks well when it is rubbed into place. Each stencil should come with an applicator stick which you will use to rub into place.
Here is the key to make it work: Fold the stencil over the glass and start near the masking tape side. Rub the flat side of the stick back and forth while applying pressure with your thumb. It may take 30 seconds to see anything happen and the carrier sheet will begin to separate from the stencil which indicates that part is sticking to the glass. For more stubborn areas, try adding more pressure and using the pointer side of the stick but be sure not to rub too aggressive or else it may push the stencil pieces around.
4. Remove masking tape & carrier sheet
The whole stencil will be ready once it almost looks like there is an bubble between the blue stencil and carrier sheet. At this time, you can begin to peel off the masking tape which should pull off the carrier sheet too. Be sure to do it slow and pull it 180 degrees in the opposite direction.
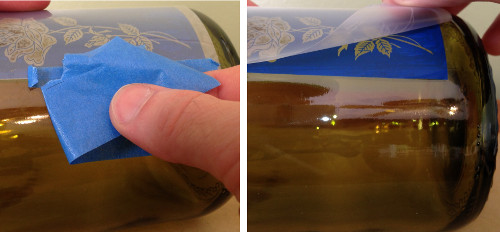
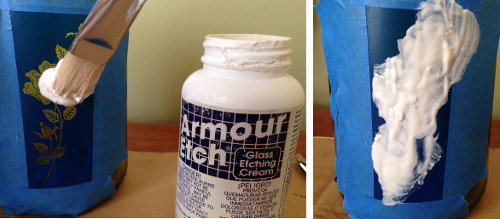
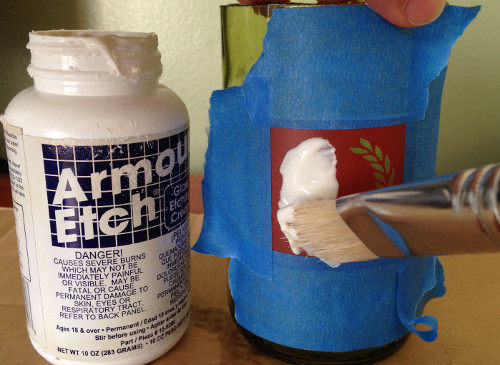
5. Mask the outside
To prevent accidental etching outside the stencil, apply masking tape to protect it.
6. Apply a thick coat of etching cream and wait
Be sure to lightly brush the cream over. For stencils with intricate detail, try to move the cream over the least amount possible or the pieces may come up.
Armour etch now recommends that you only leave the cream on for 1 minute. Etchall recommends 15 minutes.
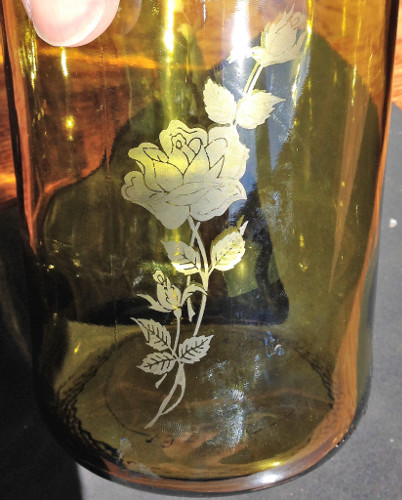
7. Peel off the stencil & wash
Rinse the cream off and remove as much of the stencil off. Sometimes the thin stencil can stick to the glass well in some areas. If this is the case, you try using the blade of your scissors or knife to scrape it off.
8. That’s it!
 I hope this tutorial was helpful and makes working with Rub N’ Etch stencils a success. It can be tedious working with them but the results can be great! Please let me know if you have any questions about these in the comments below. Thank you!
Share this on social media or email by clicking below!
I really enjoy the designs you post I liked the dragon you once posted I accidently deleted it will you be posting it again sometime?
Paul, are you referring to a stencil design to use or an etching/engraving? I think this is the only stencil we have on Amazon that has a dragon: http://amzn.to/2lrx99E
When I use rub n buff on etched glass it comes off when u hand wash the glass. Any advice to stop this? Thanks
I truly appreciate that info i was just trying to use rub and buff with no success. I shall work at it again
Marlene 🙂
@Marlene & Karla Stock, just a heads up, the Rub N Buff (color add on) and Rub N Etch (stencil) are different products.
The Rub N Buff is discussed here https://www.glassetchingsecrets.com/how-to-get-use-out-of-drying-rub-n-buff/ . Unfortunately, the Rub N Buff coloring isn’t a permanent product. I suggest using another glass paint product such as https://amzn.to/2EHNqDd